AWS Lightsail Tutorial: Publish a Vibe-Coded AI App
Table of Contents
- Before you start
- 1. Create a Linux instance with the right region and plan
- 2. Attach a static IP
- 3. Connect with browser SSH
- 4. Upload or clone the app with Git
- 5. Install dependencies and run it with a process manager
- 6. Put Nginx in front and open ports 80/443
- 7. Point a domain and add HTTPS
- Update and maintain the app
- Before you start
- 1. Create a Linux instance with the right region and plan
- 2. Attach a static IP
- 3. Connect with browser SSH
- 4. Upload or clone the app with Git
- 5. Install dependencies and run it with a process manager
- 6. Put Nginx in front and open ports 80/443
- 7. Point a domain and add HTTPS
- Update and maintain the app
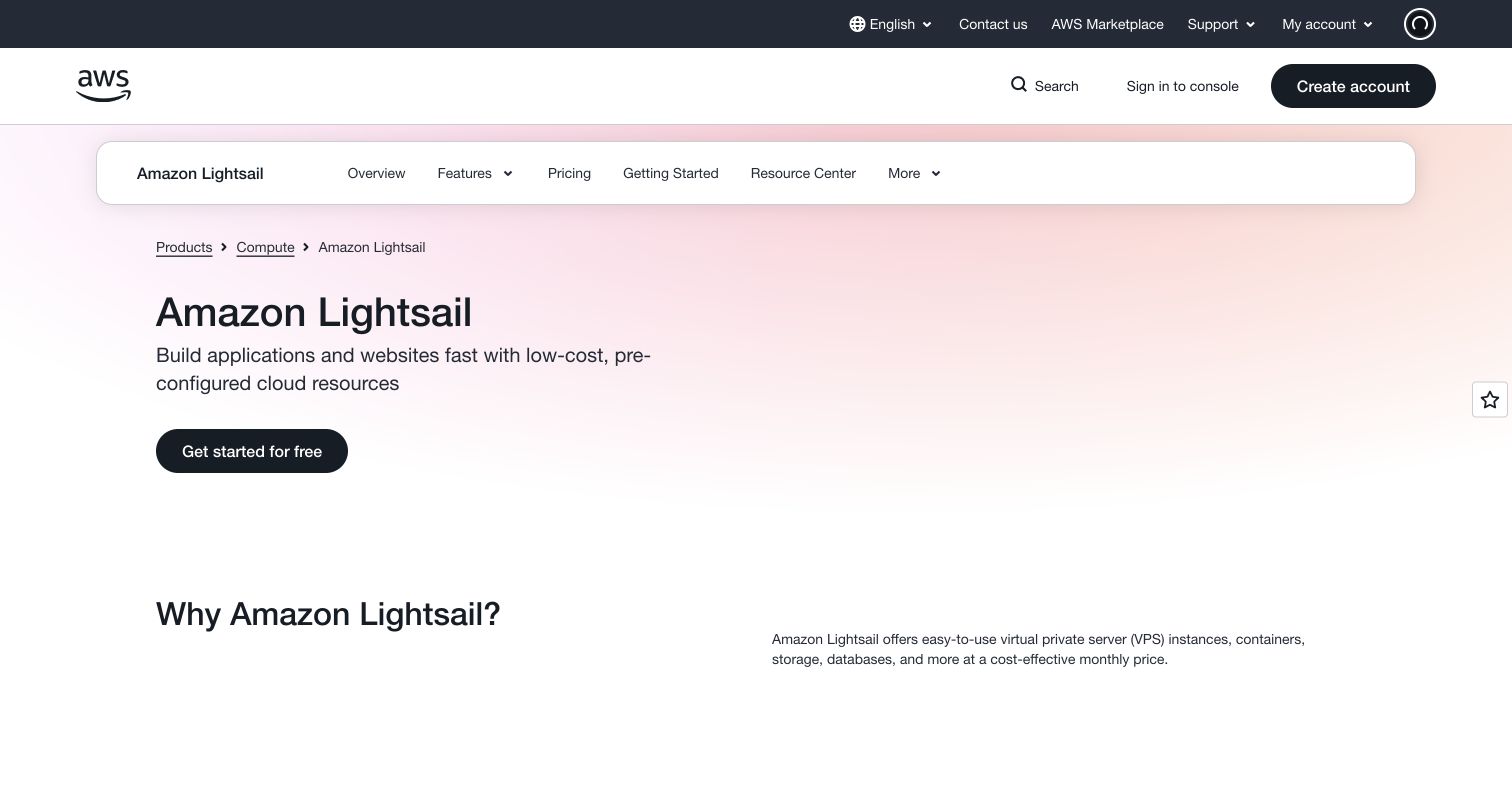
AWS Lightsail can host a vibe-coded AI app that needs a real server process, private environment variables, or a database connection. This AWS Lightsail tutorial uses an Ubuntu Linux instance, a Node app, PM2, Nginx, and HTTPS. The tradeoff is worth stating early: Lightsail gives you a virtual server, so you become its administrator. For simple HTML, CSS, and JavaScript, static hosting is easier. Choose this vibe coding hosting route when your app must keep running on the server.
Before you start
You will need an AWS account, your application files or Git repository, and a domain you can edit. You should also be comfortable copying commands into a terminal. Server administration includes software updates, firewall rules, process restarts, backups, and monitoring.
Lightsail is a reasonable fit for apps such as:
- A Node chat interface that calls an AI API without exposing the API key
- A client portal with login sessions and server-side access rules
- A proposal generator that saves submissions to a database
If your AI tool can export a static folder and needs no server code, use a static-site service instead. It will involve less maintenance.
1. Create a Linux instance with the right region and plan
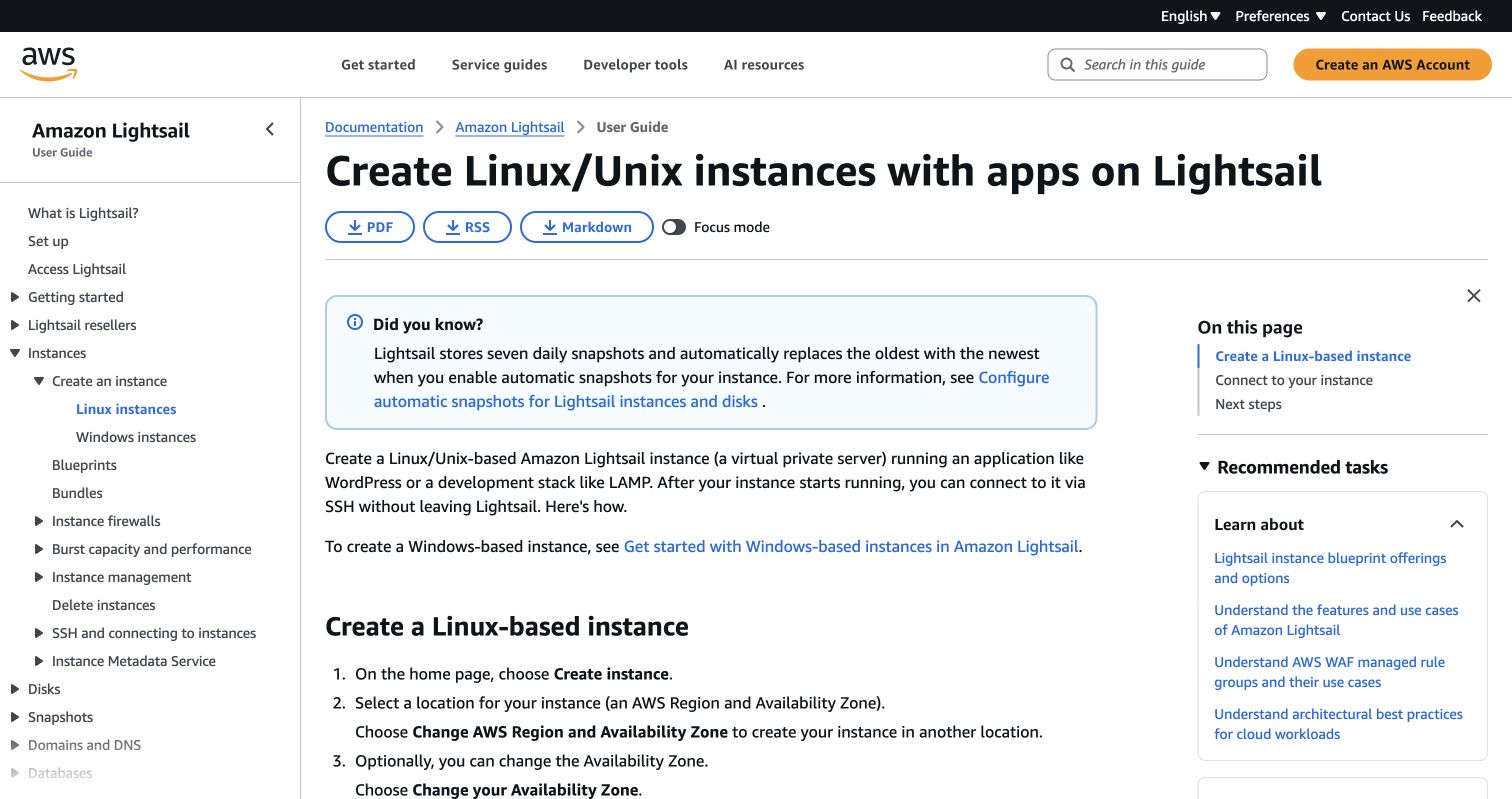
Follow the AWS Lightsail instance guide and make these choices:
- Select an AWS Region close to most users and suitable for any data-location requirements.
- Choose Linux/Unix, then OS Only and a supported Ubuntu LTS release.
- Pick a plan with enough memory for the app and its build process. A small prototype may run with 1 GB, but image processing, local models, or a database may need more.
- Give the instance a clear name and create it.
Review Lightsail pricing and any introductory offer shown in your account before creating the instance. Start small, watch resource use, and resize later if needed.
2. Attach a static IP
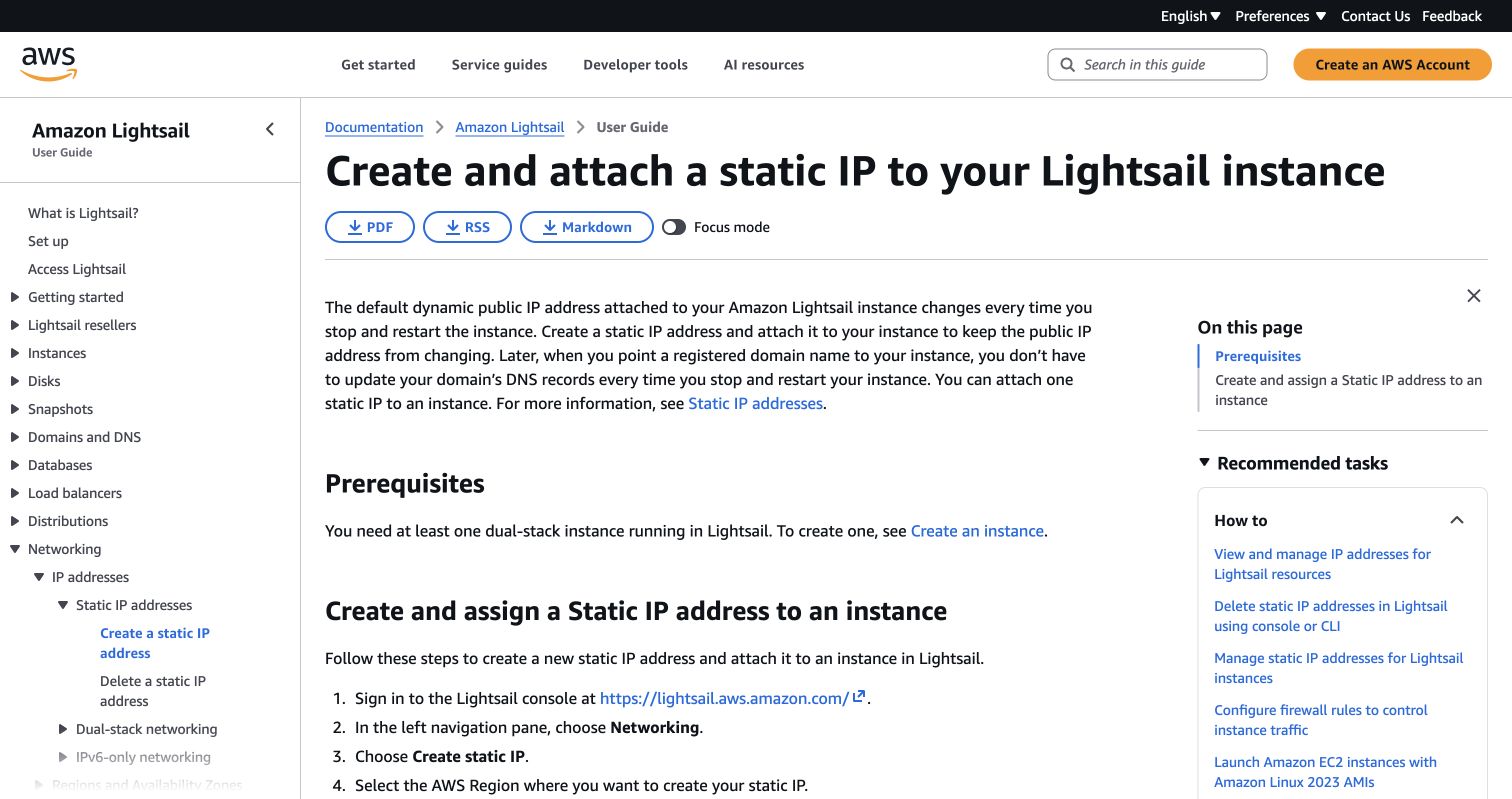
The default public IP can change after the instance is stopped and restarted. Under Networking, choose Create static IP, select the same Region, and attach it to the instance. The AWS static IP instructions explain the console flow.
Record this address. Your domain will point to it, so check that the static IP remains attached before changing DNS.
3. Connect with browser SSH
Open the instance and choose Connect using SSH. AWS provides a browser-based SSH client, so beginners do not need to configure a local terminal immediately.
Update Ubuntu before installing application software:
sudo apt update
sudo apt upgrade -y
Treat this terminal as access to a real production computer. Do not paste unknown commands, API keys, or passwords into it.
4. Upload or clone the app with Git
For a Git repository, install Git and clone the project:
sudo apt install -y git
git clone <repository-url> app
cd app
For a private repository, use a read-only deploy key rather than placing a personal token in shell history. Another option is uploading an archive with SCP after configuring an SSH key. Keep secrets in a server-side .env file, exclude that file from Git, and restrict it with chmod 600 .env.
Before continuing, read the generated app. Check its README, required runtime version, start command, port, database needs, and environment variables. AI-generated code can contain development-only settings or missing production instructions.
5. Install dependencies and run it with a process manager
There is no universal installation command for every AI-generated app. Install the Node version required by your framework and follow that framework’s production guide. For a Node project with a lockfile, a typical test is:
npm ci
npm run build
PORT=3000 npm start
Skip or replace npm run build if the project does not define it. Test the app, then stop it with Ctrl+C. If it works, PM2 can restart the process after a crash or reboot:
sudo npm install -g pm2
PORT=3000 pm2 start npm --name ai-app -- start
pm2 save
pm2 startup
Run the final command printed by pm2 startup. Python, Ruby, Go, and Docker apps need different production commands. Do not force the Node example onto another stack.
6. Put Nginx in front and open ports 80/443
Keep the application on a private local port and let Nginx receive public traffic. Install Nginx, then create /etc/nginx/sites-available/ai-app with this basic proxy:
server {
    listen 80;
    server_name app.example.com;

    location / {
        proxy_pass http://127.0.0.1:3000;
        proxy_set_header Host $host;
        proxy_set_header X-Forwarded-Proto $scheme;
    }
}
Enable and test it:
sudo ln -s /etc/nginx/sites-available/ai-app /etc/nginx/sites-enabled/
sudo nginx -t
sudo systemctl reload nginx
In the instance’s Networking tab, allow TCP ports 80 and 443. AWS explains these rules in its Lightsail firewall guide. Do not expose port 3000 publicly. If IPv6 is enabled, remember Lightsail manages IPv4 and IPv6 firewall rules separately.
7. Point a domain and add HTTPS
Create an A record for app.example.com that points to the static IPv4 address. The AWS Lightsail DNS guide explains A records and DNS zones. Wait until the hostname resolves to your instance before requesting a certificate.
On Ubuntu, a common single-domain Certbot flow is:
sudo apt install -y certbot python3-certbot-nginx
sudo certbot --nginx -d app.example.com
sudo certbot renew --dry-run
Use your actual hostname. For wildcard certificates or a different Nginx image, follow the AWS HTTPS and Certbot tutorial, since its commands and DNS verification steps differ. Confirm that HTTP redirects to HTTPS and that the browser reports a valid certificate.
Update and maintain the app
Take a snapshot before a risky release. A routine Node update might look like this:
cd ~/app
git pull --ff-only
npm ci
npm run build
pm2 restart ai-app --update-env
Adapt those commands to your framework, especially database migrations. Test the main user flow after every release.
Use this final maintenance checklist:
| Item | What to check | Why it matters |
|---|---|---|
| Updates | Apply Ubuntu, runtime, and dependency security updates regularly | Old packages leave known vulnerabilities online |
| Backups | Enable automatic snapshots and test recovery | Lightsail retains the latest seven automatic daily snapshots |
| Firewall | Allow only required ports and restrict SSH where practical | An open port exposes another path into the server |
| HTTPS | Test renewal and watch certificate expiry | A failed renewal can block visitors or expose traffic |
| Monitoring | Add Lightsail metric alarms for CPU and other useful signals | Lightsail evaluates alarm data in five-minute periods |
Your site is live.
Get Email address for your AI agent
- Create a cloud bucket and copy its
<unique.id>@revdokumail.comemail address. - Emails sent to this email are saved as JSON and Markdown, attachments are extracted.
- Connect AI agents to read and manage saved emails and files via the API, CLI, MCP, or Skill.
Related Articles
Heroku Deployment Tutorial for Vibe-Coded AI Apps
Publish an AI app on Heroku through GitHub, protect secrets with Config Vars, connect a domain, and deploy updates safely.
Railway Deployment Tutorial for an AI-Generated App
A beginner Railway deployment tutorial for publishing a vibe-coded AI app from GitHub, including secrets, domains, logs, and updates.
Azure Static Web Apps Tutorial for AI-Generated Sites
Publish an AI-generated website from GitHub with this beginner Azure Static Web Apps tutorial, including build settings and a custom domain.