Azure Static Web Apps Tutorial for AI-Generated Sites
An AI tool can generate a site in minutes. Publishing it is less obvious. This Azure Static Web Apps tutorial takes a project from GitHub to a public HTTPS address, with automatic redeployment after later changes. It works for plain HTML and static-output frameworks such as React, Vue, and Astro.
Before you start
Make sure the project runs locally and contains no secrets. Static files sent to a browser are public. If a client demo is confidential, use a private sharing link or password gate instead of public vibe coding hosting.
You need:
- An Azure account with an active subscription
- A GitHub account and repository you can authorize
- An
index.htmlfile or a framework that produces static files - The build command and build folder, if the project uses them
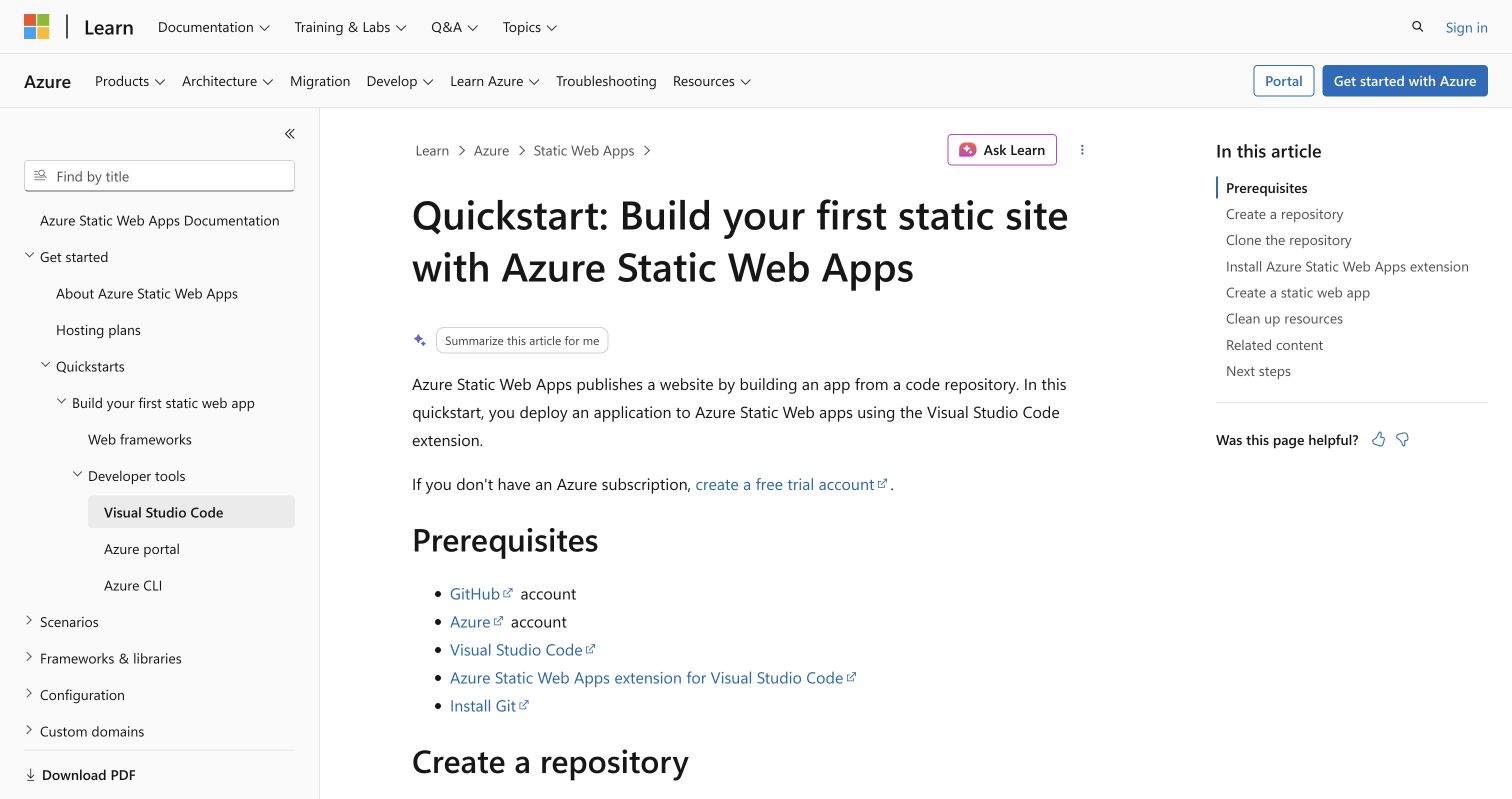
Microsoft’s portal quickstart provides more background.
1. Put the site in GitHub
Create a repository and push the generated files to a branch such as main.
- For plain HTML,
index.htmlcan sit at the repository root. - For a framework, commit the source,
package.json, and lockfile. - Never commit
.envfiles, API keys, or private client material.
Check the repository in your browser. Azure will use it to publish the AI-generated website.
2. Create a Static Web App in Azure
Open the Azure portal, choose Create a resource, search for Static Web Apps, and select Create.
- Choose your subscription and create or select a resource group.
- Name the app and select a suitable plan.
- Set Source to GitHub.
- Authorize Azure to access GitHub when prompted.
Check the current plan limits before creating the resource.
3. Choose the repository and branch
Azure shows the GitHub resources it can access. Select:
- Organization: the account or company that owns the code
- Repository: the site you want to deploy
- Branch: usually
main, or another production branch
Pushes to that branch can deploy to production. Review client changes on a separate branch before merging them.
4. Enter app location and output location
These paths are inside the repository.
| Project type | App location | Output location |
|---|---|---|
| Plain HTML at repository root | / |
Leave blank |
| Vite, Vue, or Astro | / |
Usually dist |
| Create React App | / |
Usually build |
| App inside a subfolder | /site |
Its build folder |
Plain HTML needs no build output. For a framework, set the output location to the folder created by its build. Verify it locally because defaults vary. Microsoft maintains a framework output table and build configuration reference. Leave the API location blank unless you have an Azure Functions API.
5. Let the generated GitHub Actions workflow deploy
Select Review + create, check the settings, and create the resource. Azure adds a YAML workflow under .github/workflows/. GitHub Actions then builds and uploads the site.
Wait for a green check. If the run fails, check the first relevant error in its logs. Common causes are:
- The wrong output folder
- A missing dependency or lockfile
- A build command that fails locally
Correct the project or workflow, commit the fix, and push again.
6. Open the Azure URL
Return to the app’s Overview page. After deployment, open the generated azurestaticapps.net URL.
- Test the home page and one deeper route.
- Check navigation, images, forms, and downloads.
- Refresh the deeper route to find routing problems.
- Confirm that no draft or private data is visible.
Azure supplies HTTPS for this address. A green deployment does not prove every page works, so test it.
7. Add a custom domain
Go to Settings > Custom domains > Add.
- Enter the domain or subdomain.
- Choose Azure DNS or another provider.
- Add the DNS and validation records Azure shows.
- Return to Azure and complete validation.
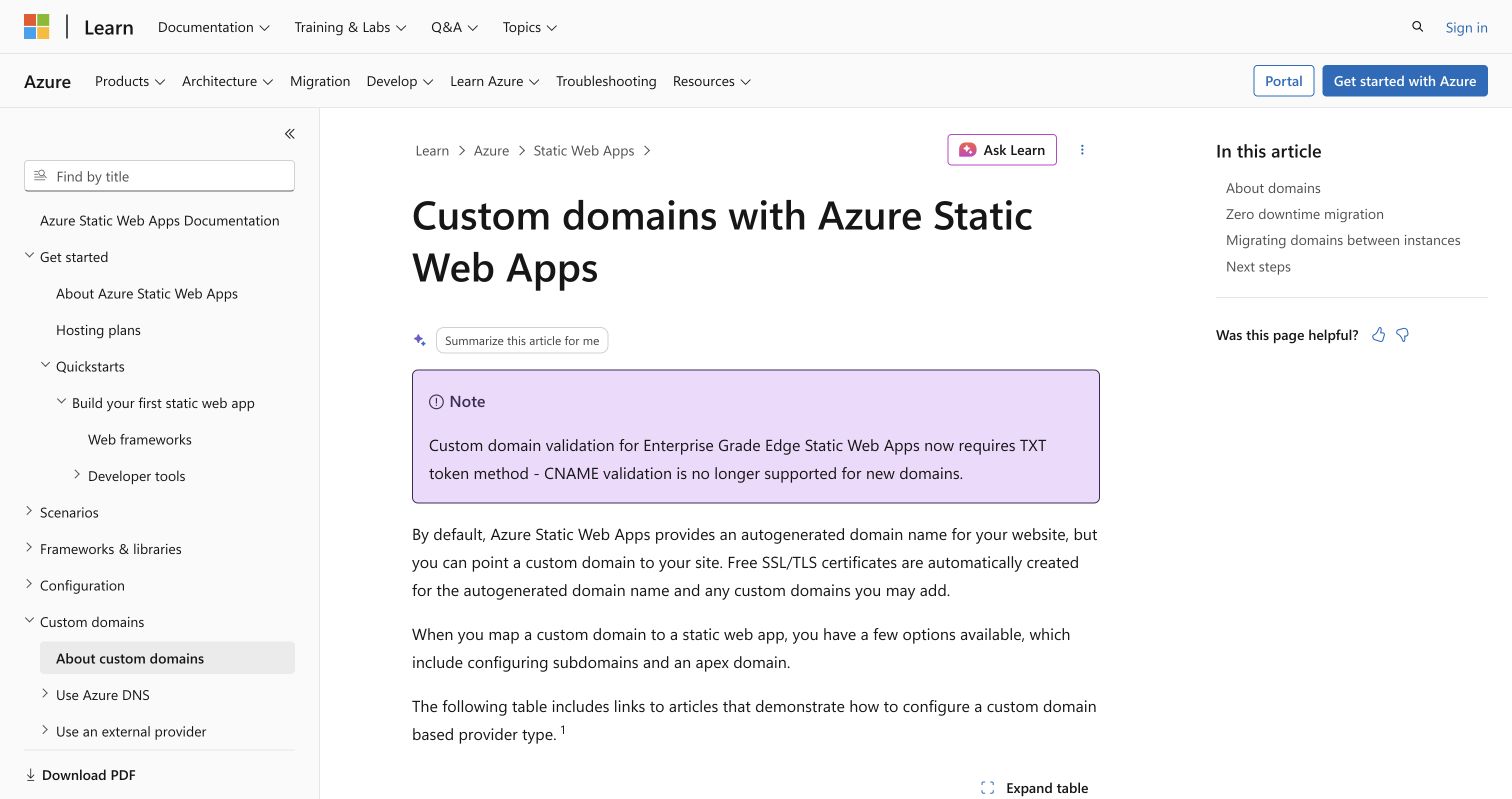
DNS changes may take time to appear. Azure creates a free SSL/TLS certificate after validation. Follow Microsoft’s current custom domain guide, since records depend on the domain setup.
Update the site
Edit the site, test locally, commit the files, and push or merge them into the production branch. The workflow runs again while the public URL stays the same. That is practical vibe coding hosting: AI can help revise the project, while Git history and branch review keep publication controlled.
Deployment checklist
| Item | What to check | Why it matters |
|---|---|---|
| Repository | Correct files; no secrets | Shipped files are public |
| Branch | Production branch selected | Pushes can publish |
| Paths | App and output folders match | Wrong paths break builds |
| Workflow | GitHub Actions workflow is green | Deployment must finish |
| Website | Routes, images, and forms work | Build success is not a full test |
| Domain | DNS and HTTPS work | Visitors need a trusted address |
Your site is live.
Get Email address for your AI agent
- Create a cloud bucket and copy its
<unique.id>@revdokumail.comemail address. - Emails sent to this email are saved as JSON and Markdown, attachments are extracted.
- Connect AI agents to read and manage saved emails and files via the API, CLI, MCP, or Skill.
Related Articles
AWS Lightsail Tutorial: Publish a Vibe-Coded AI App
A beginner AWS Lightsail tutorial for publishing a vibe-coded Node app with Nginx, a static IP, HTTPS, backups, and monitoring.
Heroku Deployment Tutorial for Vibe-Coded AI Apps
Publish an AI app on Heroku through GitHub, protect secrets with Config Vars, connect a domain, and deploy updates safely.
Railway Deployment Tutorial for an AI-Generated App
A beginner Railway deployment tutorial for publishing a vibe-coded AI app from GitHub, including secrets, domains, logs, and updates.