Railway Deployment Tutorial for an AI-Generated App
Before you start
This Railway deployment tutorial is for an AI-generated app that needs a running server, such as an API, login system, database connection, or background process. Railway is a practical vibe coding hosting option because it can build the code from GitHub, run the server, and redeploy later changes automatically.
Before you begin, make sure you have:
- A Railway account connected to GitHub
- A GitHub repository for the app
- A working local version of the app
- The names and values of any required environment variables
Keep real secrets outside Git. Never commit an API key, database password, private token, or populated .env file.
1. Make the app production-ready
AI coding tools often create a development command but forget the production setup. Your app must have a start command, and its server must listen on the port specified by Railway’s PORT environment variable.
Check these parts before publishing:
- Start command: Add a production command such as
npm startoruvicorn main:app. - Port: Read the port from the environment instead of fixing it to
3000or8000. - Host: Bind the server to
0.0.0.0, not onlylocalhost. - Dependencies: Commit the manifest and lockfile, such as
package.jsonandpackage-lock.json.
For Express, use process.env.PORT || 3000 and listen on 0.0.0.0. For FastAPI, a start command could be uvicorn main:app --host 0.0.0.0 --port $PORT. Railway documents more examples in its public networking troubleshooting guide.
2. Push it to GitHub
Create a GitHub repository, then upload or push the app. Before the first push:
- Add
.env, private keys, and local database files to.gitignore. - Commit the source code, dependency files, and production configuration.
- Confirm that the repository contains the server entry point.
An .env.example file may list variable names such as OPENAI_API_KEY= without including real values. This helps you remember what Railway needs without exposing credentials.
3. Create a Railway project from the repo
In Railway, choose New Project, select Deploy from GitHub repo, and authorize access if prompted. Pick the repository and deployment branch. Railway will inspect the project, install its dependencies, build it, and run the detected start command.
If detection fails, open the service’s Settings and enter a custom command under Deploy. Railway explains this option in its start command documentation.
4. Add environment variables
Open the service, select Variables, and add each required value with New Variable or the Raw Editor. Common examples include:
OPENAI_API_KEYfor an AI providerDATABASE_URLfor persistent dataNODE_ENV=productionfor a Node app
Enter secrets in Railway, never in a Git commit. Railway injects variables into the build and running service. It also supplies PORT, so you normally should not create that variable yourself. Review and deploy staged changes after editing variables. See Railway’s variables guide for the current controls.
5. Generate a public Railway domain
A deployed service is not automatically public. To expose it:
- Open the service’s Settings tab.
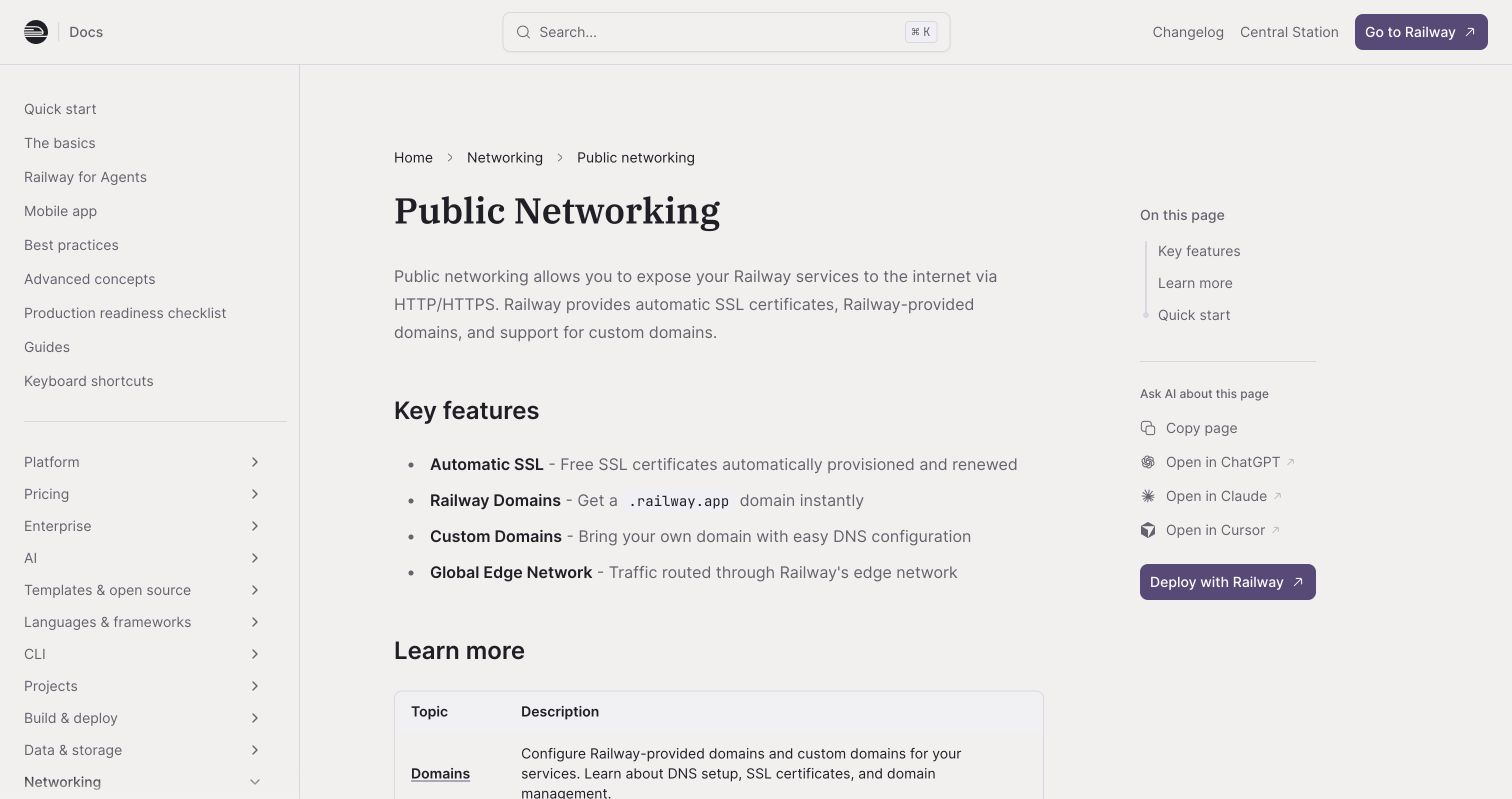
- Find Networking, then Public Networking.
- Select Generate Domain.
Railway creates an HTTPS address ending in .up.railway.app. Confirm that its target port matches the port used by your server. The official domain guide also covers custom domains and SSL.
6. Test the deployment and logs
Open the public URL in a private browser window. Test the home page and one real server action, such as submitting a form, signing in, or sending an AI request. A page loading correctly does not prove that its API calls work.
| Symptom | What to inspect |
|---|---|
| Application failed to respond | Host and PORT binding |
| Service exits immediately | Start command and missing dependencies |
| Feature fails in production | Environment variables and external URLs |
| Build fails | Build logs and dependency versions |
Click the deployment to inspect build and runtime output. Railway captures messages written to standard output and standard error. Use the logging guide to investigate errors, and avoid noisy debug logging in production.
Update the app
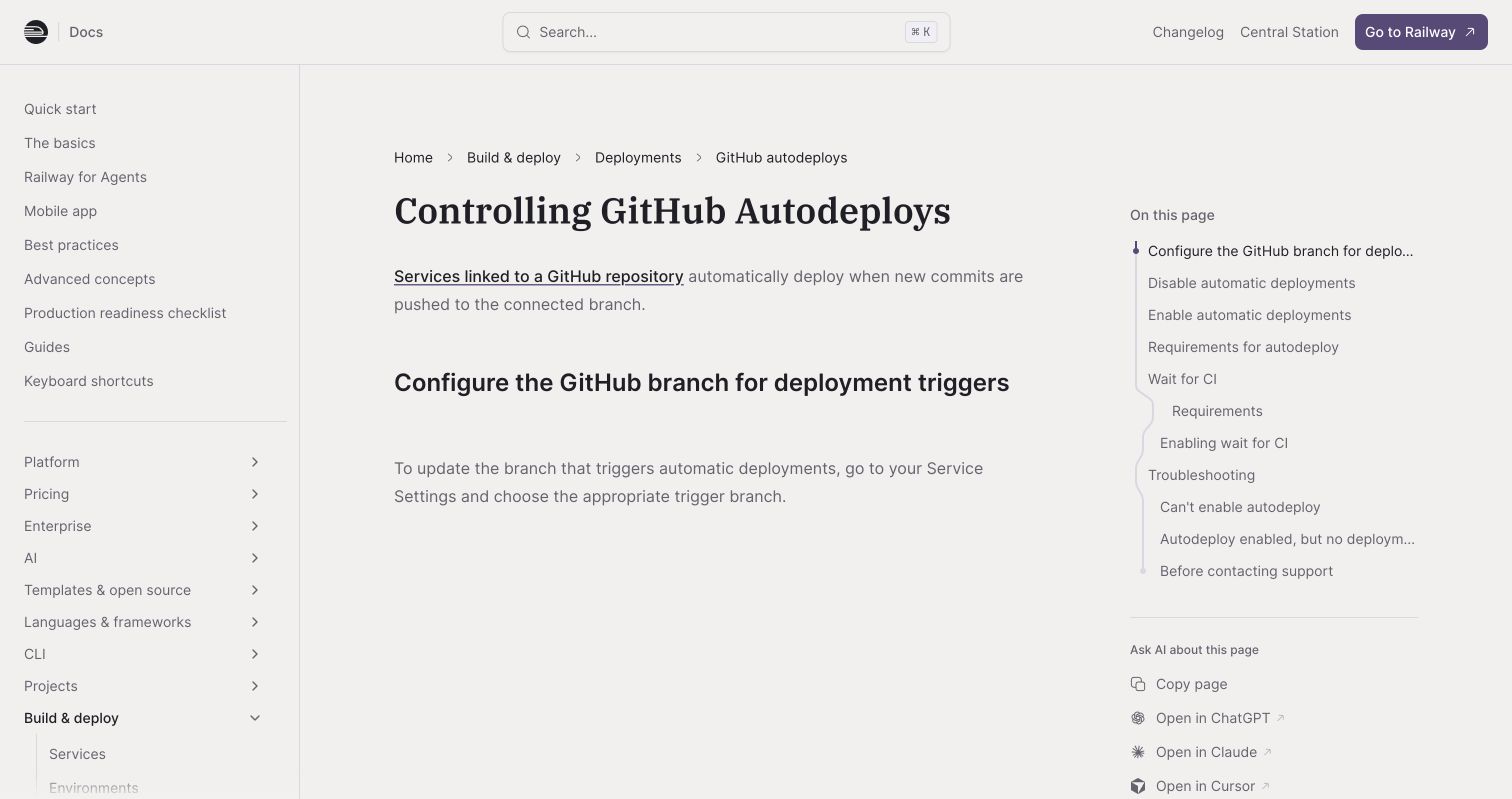
Push a new commit to the connected branch when you want to update the app. GitHub-linked services normally start a fresh deployment automatically, as described in Railway’s GitHub autodeploy guide. Test the public domain again after the deployment succeeds.
Deployment checklist
| Item | What to check | Why it matters |
|---|---|---|
| Start command | A production server command exists | Railway needs a process to run |
| Networking | Server uses 0.0.0.0 and Railway’s PORT |
Public requests can reach the app |
| Secrets | Values exist only in Railway | Credentials stay out of Git |
| Domain | A Railway domain is generated | The app becomes publicly accessible |
| Testing | Pages, server actions, and logs work | The deployment is ready to share |
Your site is live.
Get Email address for your AI agent
- Create a cloud bucket and copy its
<unique.id>@revdokumail.comemail address. - Emails sent to this email are saved as JSON and Markdown, attachments are extracted.
- Connect AI agents to read and manage saved emails and files via the API, CLI, MCP, or Skill.
Related Articles
AWS Lightsail Tutorial: Publish a Vibe-Coded AI App
A beginner AWS Lightsail tutorial for publishing a vibe-coded Node app with Nginx, a static IP, HTTPS, backups, and monitoring.
Heroku Deployment Tutorial for Vibe-Coded AI Apps
Publish an AI app on Heroku through GitHub, protect secrets with Config Vars, connect a domain, and deploy updates safely.
Azure Static Web Apps Tutorial for AI-Generated Sites
Publish an AI-generated website from GitHub with this beginner Azure Static Web Apps tutorial, including build settings and a custom domain.