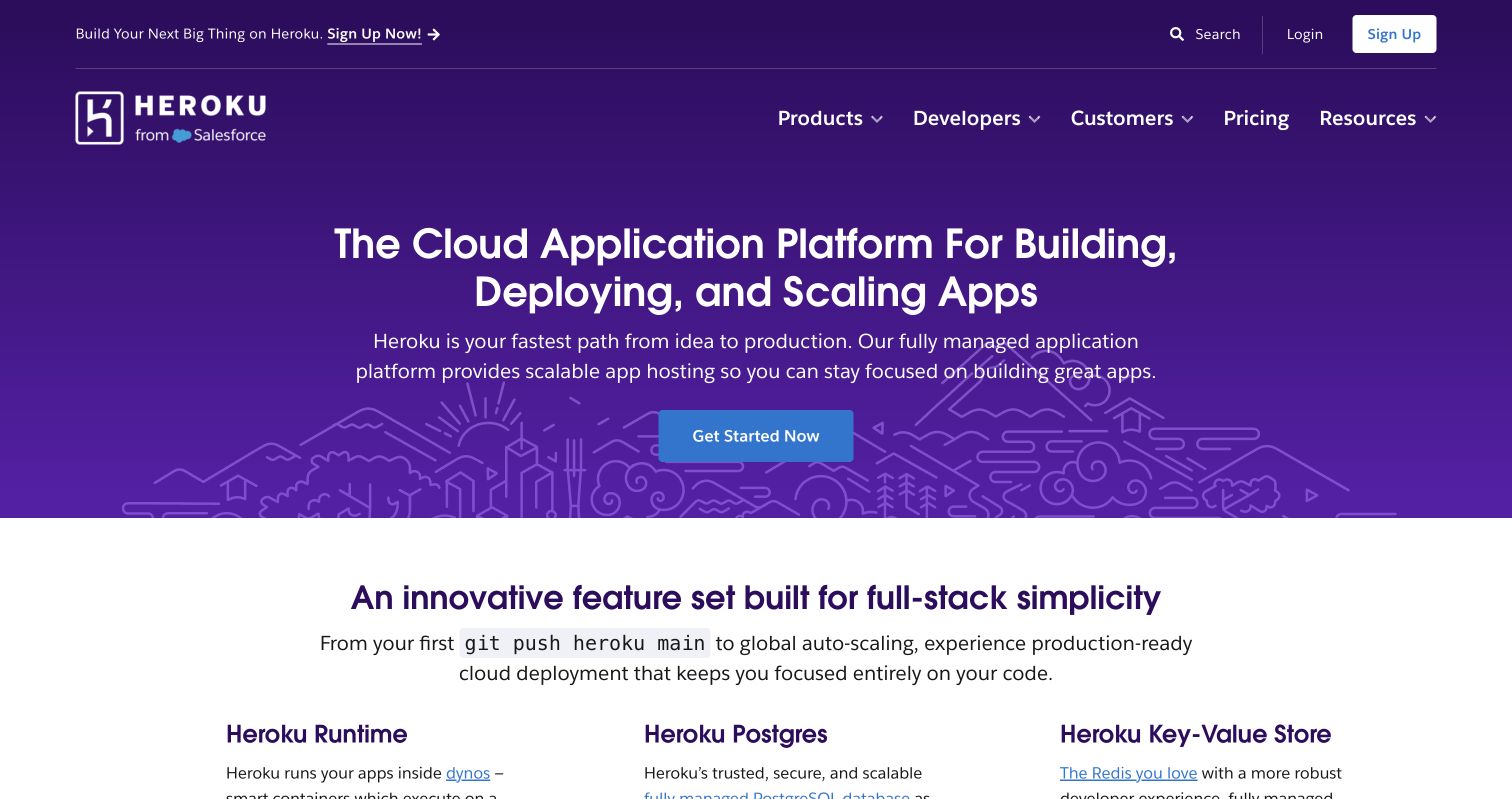
Heroku Deployment Tutorial for Vibe-Coded AI Apps
Table of Contents
- Before you start
- 1. Make the project deployable with a start script or Procfile
- 2. Push to GitHub
- 3. Create a Heroku app
- 4. Connect the GitHub repository
- 5. Add Config Vars without committing secrets
- 6. Deploy the branch and open the herokuapp.com URL
- 7. Add a custom domain
- Update the app
- Deployment checklist
- Before you start
- 1. Make the project deployable with a start script or Procfile
- 2. Push to GitHub
- 3. Create a Heroku app
- 4. Connect the GitHub repository
- 5. Add Config Vars without committing secrets
- 6. Deploy the branch and open the herokuapp.com URL
- 7. Add a custom domain
- Update the app
- Deployment checklist
Before you start
Vibe coding can produce a working app quickly. Publishing it is where the less glamorous details appear. This Heroku deployment tutorial shows how to publish an AI app from GitHub without assuming that you are a professional programmer.
Before starting, make sure you have:
- A Heroku account with billing enabled
- A GitHub account and repository
- An app that runs successfully on your computer
- Any API keys stored outside the source code
Heroku is a paid service. Review its usage and billing guide before choosing a dyno plan. Databases and other add-ons can add to the bill.
1. Make the project deployable with a start script or Procfile
Heroku needs one command that starts your web server. For a Node.js app, add a start script to package.json:
{
  "scripts": {
    "start": "node server.js"
  }
}
You can also create a root-level file named Procfile, with no extension:
web: npm startA Python alternative might be web: gunicorn app:app. The exact command depends on your framework. Heroku explains these declarations in its Procfile guide.
Most important, the app must bind to the PORT environment variable assigned by Heroku. In Node.js, use process.env.PORT || 3000 rather than a fixed production port. A web process that does not bind correctly can hit Heroku’s 60-second boot timeout.
2. Push to GitHub
Place the app in a Git repository and commit the deployable version:
git init
git add .
git commit -m "Prepare app for Heroku"
git branch -M main
git remote add origin YOUR_GITHUB_REPOSITORY_URL
git push -u origin main
Run these commands from the app’s root directory. Your dependency file, such as package.json or requirements.txt, must be committed. Generated dependency folders such as node_modules should remain ignored.
3. Create a Heroku app
Open the Heroku Dashboard, select New, and create an app. Choose a unique name and a region near most of your users. Heroku may append an identifier to the final hostname, so do not rely on the app name alone when preparing links.
Open the app’s Resources area and select a paid dyno plan if Heroku asks you to provision one. Start small. A client prototype rarely needs a large production dyno on its first day.
4. Connect the GitHub repository
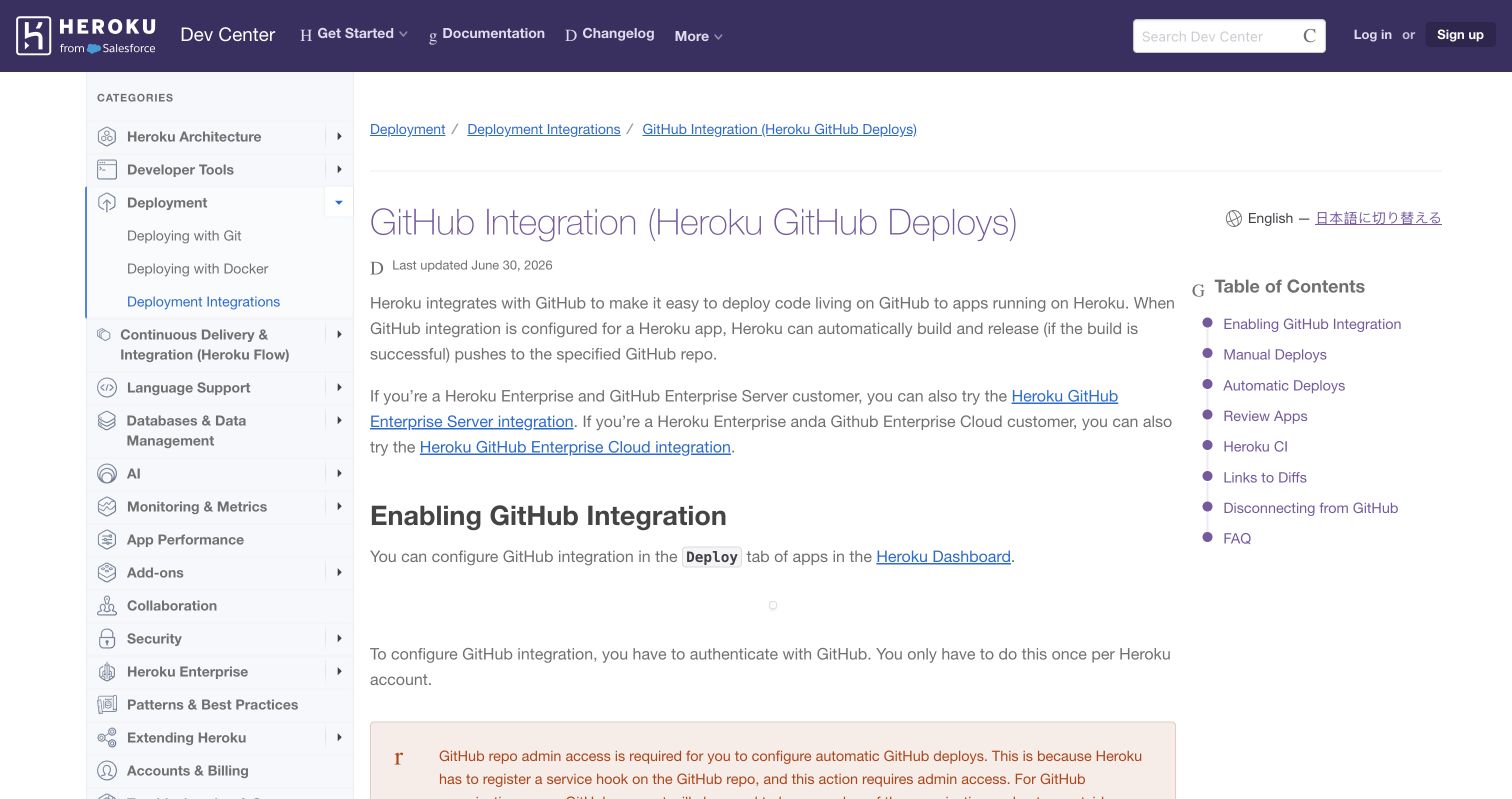
Open the app’s Deploy tab and choose GitHub as the deployment method. Authorize Heroku, search for the repository, and select Connect.
Heroku requires suitable repository access, and organization administrators may need to approve the connection. The official GitHub integration guide also notes that repository admin access is required when configuring automatic deploys.
5. Add Config Vars without committing secrets
Open Settings, find Config Vars, and enter each secret as a name and value. Common examples include:
OPENAI_API_KEYDATABASE_URLSESSION_SECRET
Read them in code through the environment, such as process.env.OPENAI_API_KEY. Do not add PORT; Heroku supplies it. Keep local .env files in .gitignore, and rotate any credential that was previously pushed to GitHub. Heroku’s Config Vars documentation confirms that these values persist across deployments and appear to the app as environment variables.
6. Deploy the branch and open the herokuapp.com URL
Return to Deploy, choose main under Manual Deploy, and select Deploy Branch. Heroku installs dependencies, builds the project, and starts the declared web process.
When the build finishes, select Open app. Test the generated herokuapp.com URL in a private browser window. Check sign-in, forms, AI requests, and database writes. If the page fails, open the Activity tab and inspect the build output before changing random settings.
7. Add a custom domain
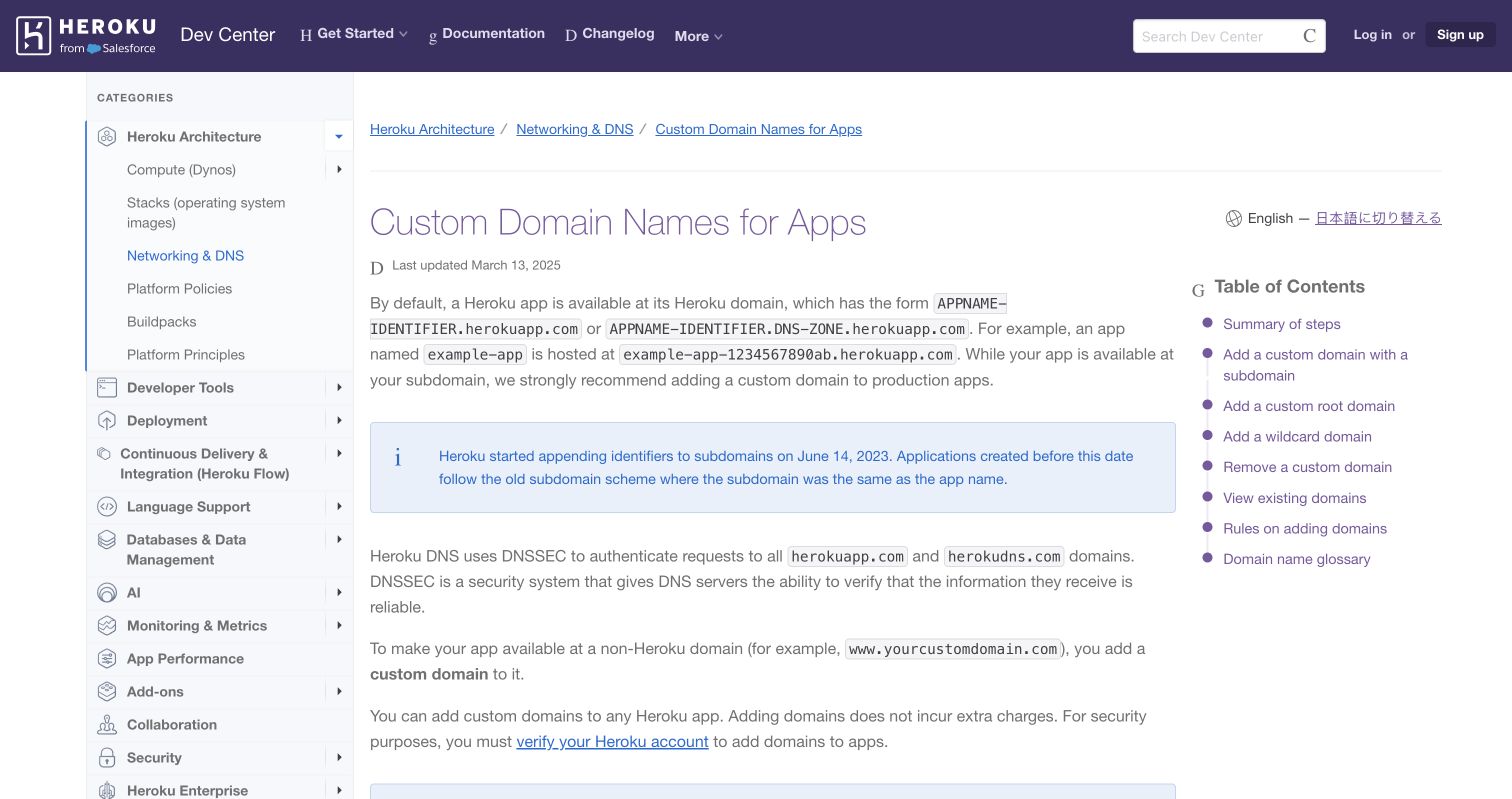
The Heroku URL is fine for testing. For client-facing vibe coding hosting, use a domain you control.
- Open Settings and add the custom domain.
- Copy the DNS target supplied by Heroku.
- Create the requested record, usually a
CNAME, with your DNS provider. - Wait for DNS and certificate changes to finish.
Always use the generated Heroku DNS target rather than guessing it. The custom domain guide warns that propagation can take from several minutes to several days. Heroku does not register the domain or host its DNS for you.
Update the app
Commit each tested change and push it to GitHub. With manual deployment, return to Heroku and deploy main again. Automatic deploys remove that click, but they also publish every push to the selected branch. Use manual deployments for early client work, then enable automatic deployment once you have reliable tests.
Heroku keeps the app URL stable across releases.
Deployment checklist
| Item | What to Check | Why It Matters |
|---|---|---|
| Start command | Start script or root-level Procfile works |
Heroku must know how to launch the server |
| Port | Server reads the PORT environment variable |
Fixed ports prevent web traffic from reaching the app |
| Repository | Current code and dependency files are on GitHub | Heroku builds the connected commit |
| Secrets | Credentials are stored in Config Vars | API keys must not enter Git history |
| Live test | Forms, AI calls, and data storage work | A successful build does not prove every feature works |
| Domain | DNS points to Heroku’s supplied target | Incorrect records leave the custom address offline |
Your site is live.
Get Email address for your AI agent
- Create a cloud bucket and copy its
<unique.id>@revdokumail.comemail address. - Emails sent to this email are saved as JSON and Markdown, attachments are extracted.
- Connect AI agents to read and manage saved emails and files via the API, CLI, MCP, or Skill.
Related Articles
AWS Lightsail Tutorial: Publish a Vibe-Coded AI App
A beginner AWS Lightsail tutorial for publishing a vibe-coded Node app with Nginx, a static IP, HTTPS, backups, and monitoring.
Railway Deployment Tutorial for an AI-Generated App
A beginner Railway deployment tutorial for publishing a vibe-coded AI app from GitHub, including secrets, domains, logs, and updates.
Azure Static Web Apps Tutorial for AI-Generated Sites
Publish an AI-generated website from GitHub with this beginner Azure Static Web Apps tutorial, including build settings and a custom domain.