Vibe coding tools in 2026: how to publish the result
Table of Contents
Vibe coding tools in 2026: how to publish the result
Vibe coding tools can turn a rough idea into a working page, game, prototype, script, or dashboard quickly. The hard part is often not generating the first version. The hard part is sharing the result with someone else without turning the experiment into a full deployment project too early.
This tutorial covers the publishing step.
The common output
After a vibe coding session, you may have a folder like this:
weather-dashboard/
  index.html
  package.json
  src/
  public/
  data/
  README.md
  screenshots/
Or a simpler static folder:
client-demo/
  index.html
  styles.css
  app.js
  assets/
  notes.md
Before choosing a host, ask what the output really is.
Choose the publishing path
Use GitHub Pages when the result belongs in a public GitHub repository.
Use Netlify or Vercel when the result is becoming a maintained web project with Git deploys, previews, build settings, or framework hosting.
Use a VPS when the result needs a server, database, background jobs, Docker, or full operating-system control.
Use Revdoku when the result is a generated folder that needs a live URL, password access, file viewers, analytics, and fast updates.
1. Freeze the first publishable version
Before publishing, ask the AI tool to make a review-ready folder.
Example prompt:
Prepare this project for a first review publish.

Make sure:
- the homepage is index.html or the README explains the start command
- all local-only paths are removed
- sample data is safe to share
- private keys and .env files are excluded
- README.md explains what the reviewer should test
- known limitations are listed
This creates a clean checkpoint. You can always improve it later.
2. Decide whether it needs a build
If the folder has only static files, publishing is simple.
If it has a framework, check whether you need to run a build command:
npm install
npm run build
The final publishable folder may be dist/, build/, .output/public/, or another output directory.
If you do not know which folder is publishable, ask the AI tool:
Tell me the exact folder I should publish as a static site.
If this project cannot be published statically, explain what server runtime it needs.
3. Publish with Revdoku for review
For a generated folder review:
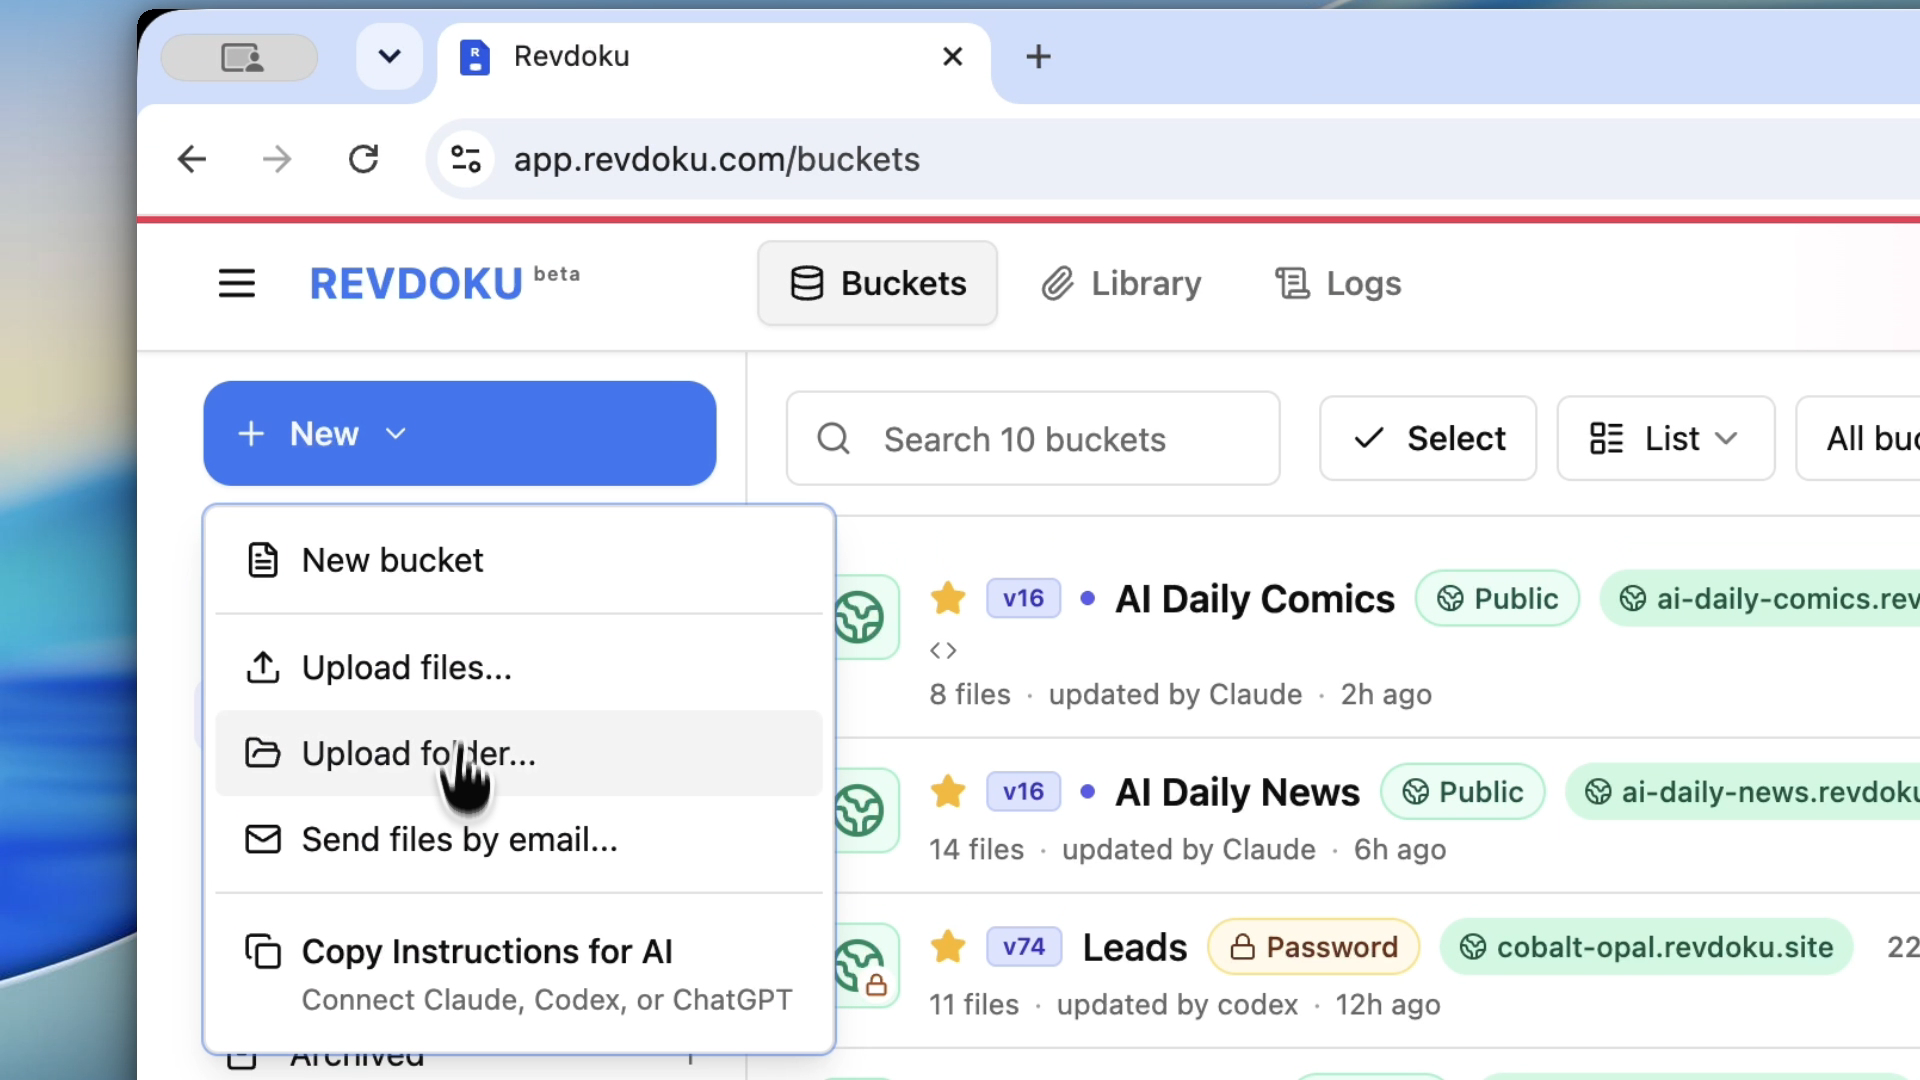
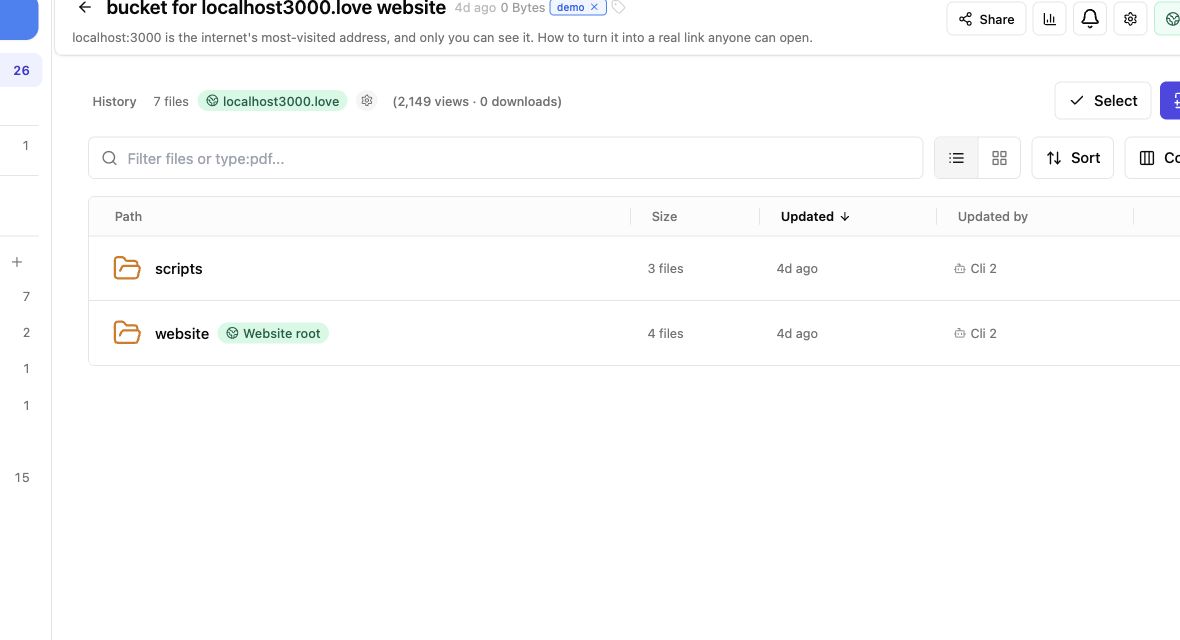
- Upload the static folder to Revdoku.
- Publish it as a website.
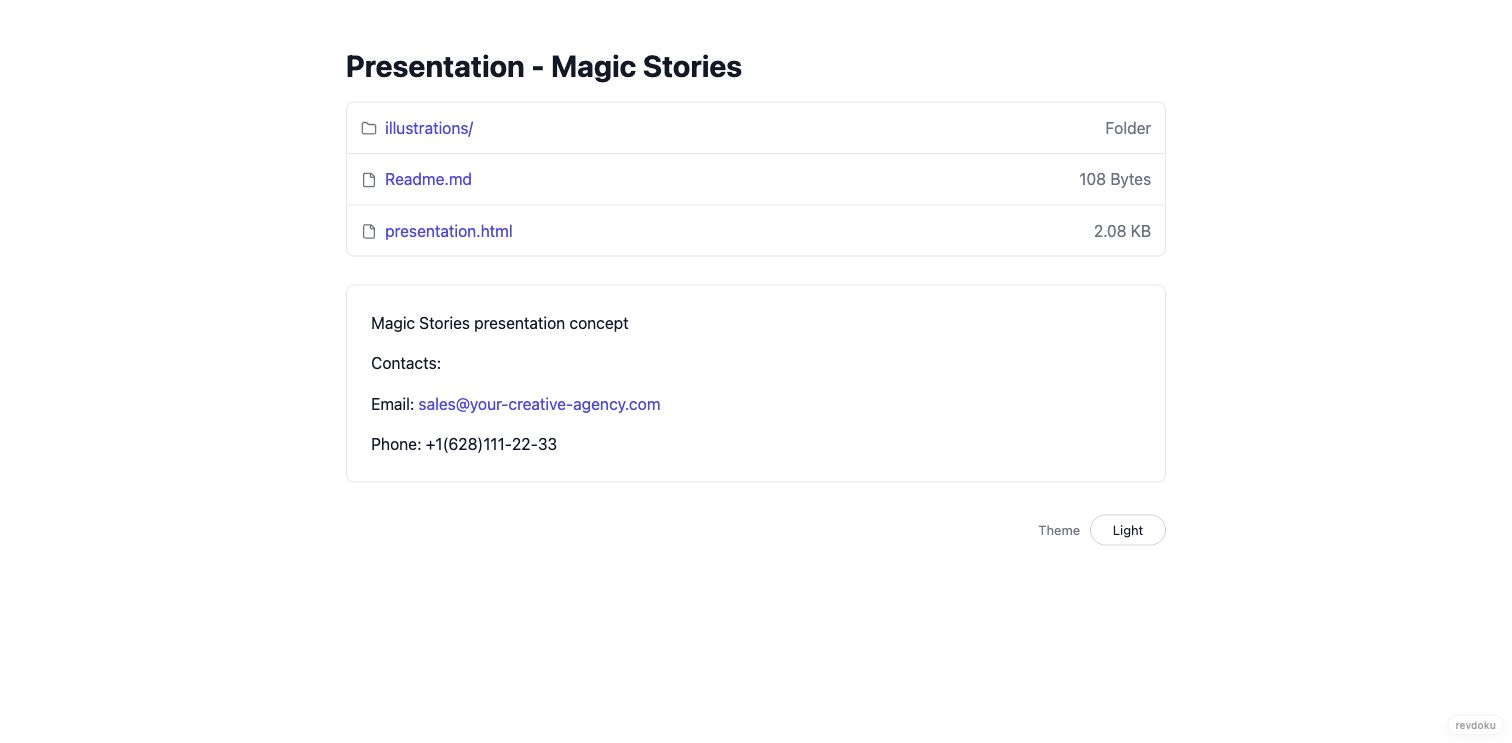
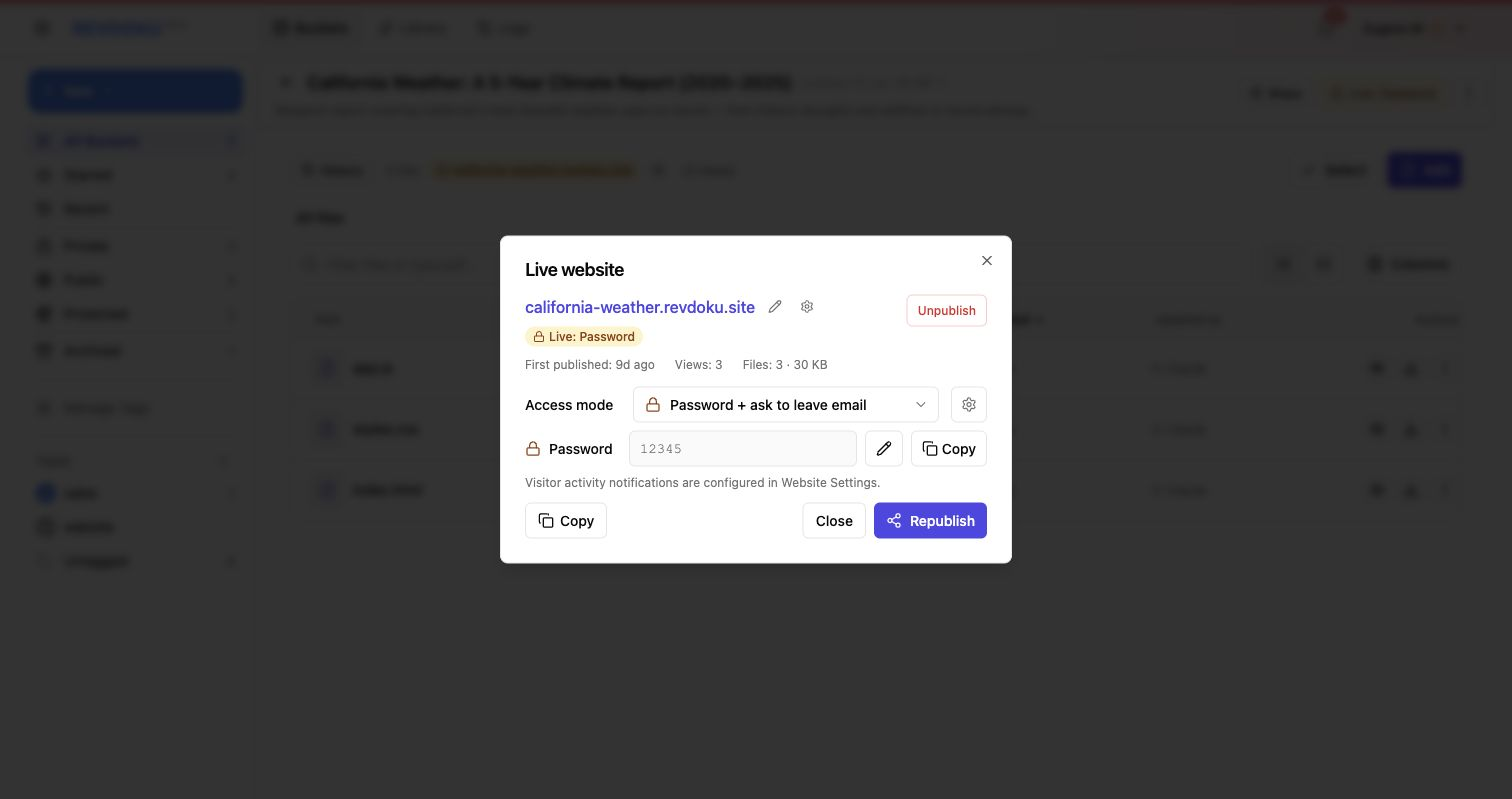
- Add password access if the project is private.
- Share the link with testers or clients.
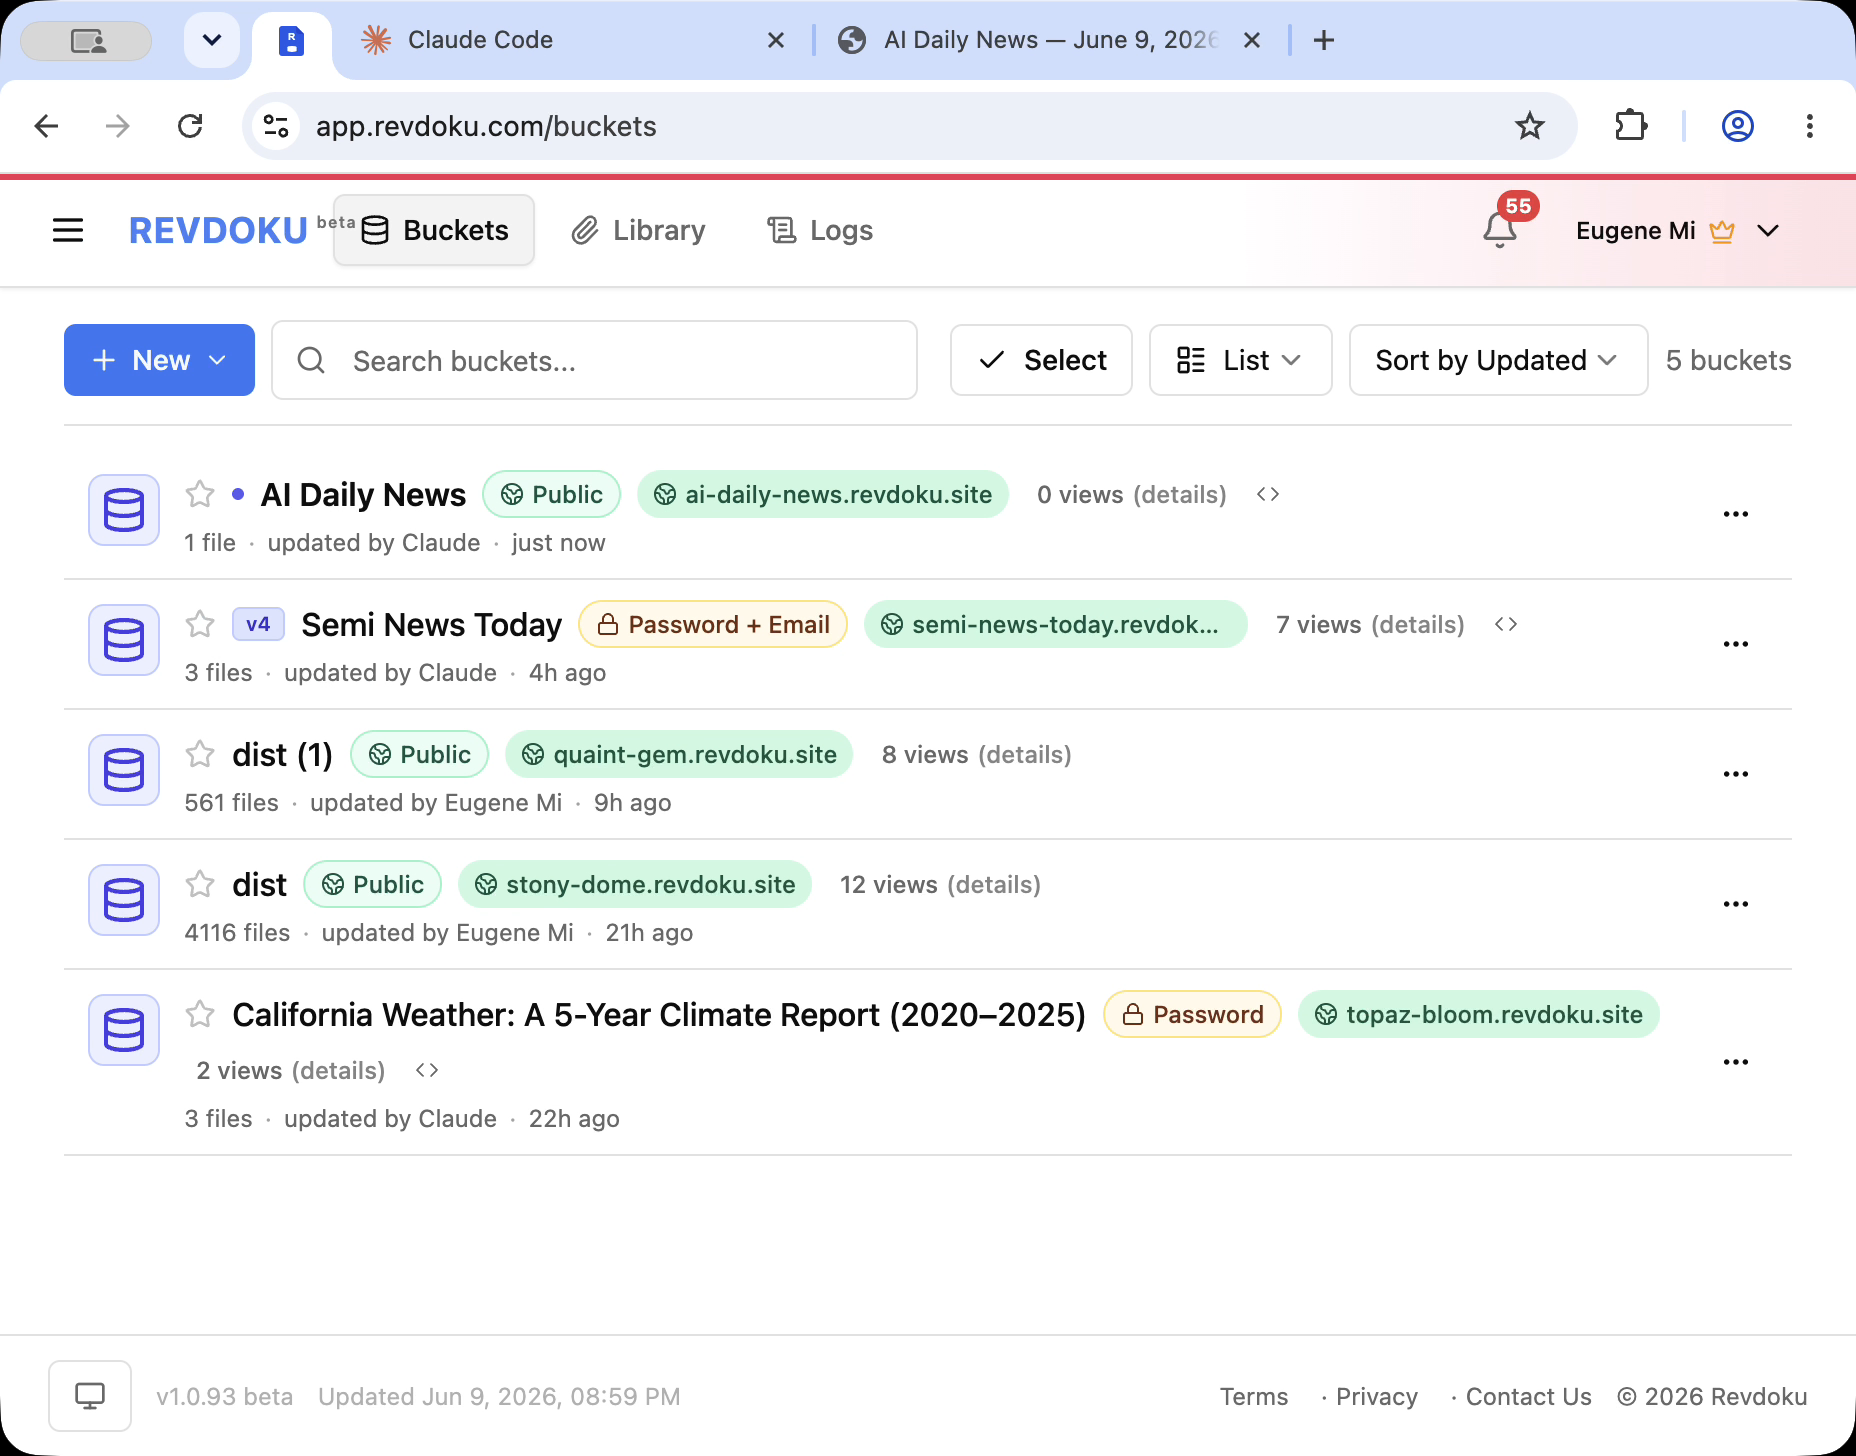
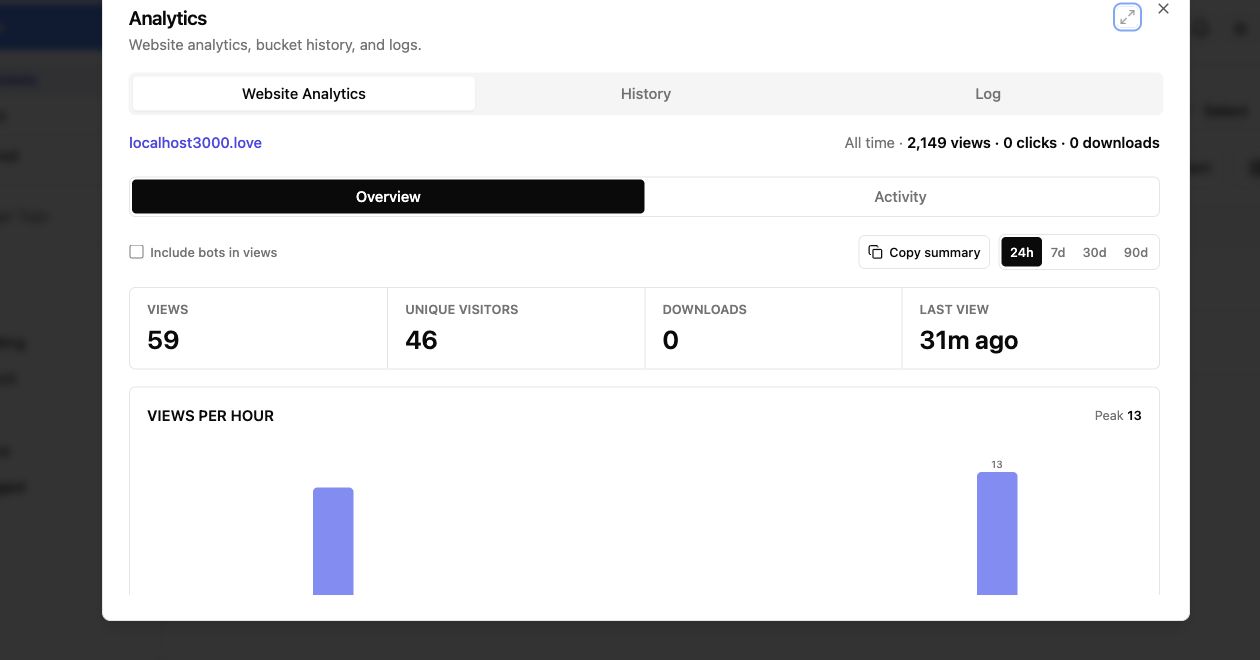
- Use analytics to see whether the link was opened.
- Update and republish after the next AI pass.
4. Include the non-web files
Vibe coded projects often include more than a web page:
- Prompt notes.
- CSV exports.
- PDFs.
- Screenshots.
- Demo data.
- Reviewer instructions.
- Test results.
Revdoku can keep those files in the same published folder. That is useful when the reviewer needs context, not just a homepage.
5. Use password access for unfinished work
Most vibe coded work should not be public at first.
Use a password gate when:
- The app is a client demo.
- The design is not approved.
- The code uses sample data.
- The idea is still confidential.
- You want feedback before public launch.
Use password plus email capture when you want a lightweight record of who opened the review link.
6. Keep a publish log
In README.md, keep a small log:
## Publish log

2026-07-06
- First review version
- Known issue: mobile menu needs polish
- Feedback requested: copy, layout, and chart readability

2026-07-07
- Updated hero copy
- Replaced sample CSV
- Fixed chart labels
This helps reviewers understand what changed between AI iterations.
Takeaway
Vibe coding gets you to a folder. Revdoku gets that folder in front of reviewers.
Use Revdoku when the output needs to be shared, protected, updated, and tracked before it becomes a full app deployment.
Revdoku workflow screenshots
Sources checked
- Existing Revdoku comparison drafts in this tutorial set.
- Revdoku local screenshot assets in
_shared/revdoku-assets/.