How to publish an AI-generated site on Netlify
Netlify Drop is one of the quickest ways to put a finished static website online. You drag in a folder or ZIP and get a .netlify.app deployment URL without setting up Git first. Confirm the project’s visitor access settings before sharing it.
Before you start
Use the built output, not an unfinished framework source folder. Your upload should contain index.html at its root.
site/
├── index.html
├── styles.css
├── app.js
└── images/
Open the site locally and check its links and images. A static upload cannot run a traditional server, database, or background process.
1. Open Netlify Drop
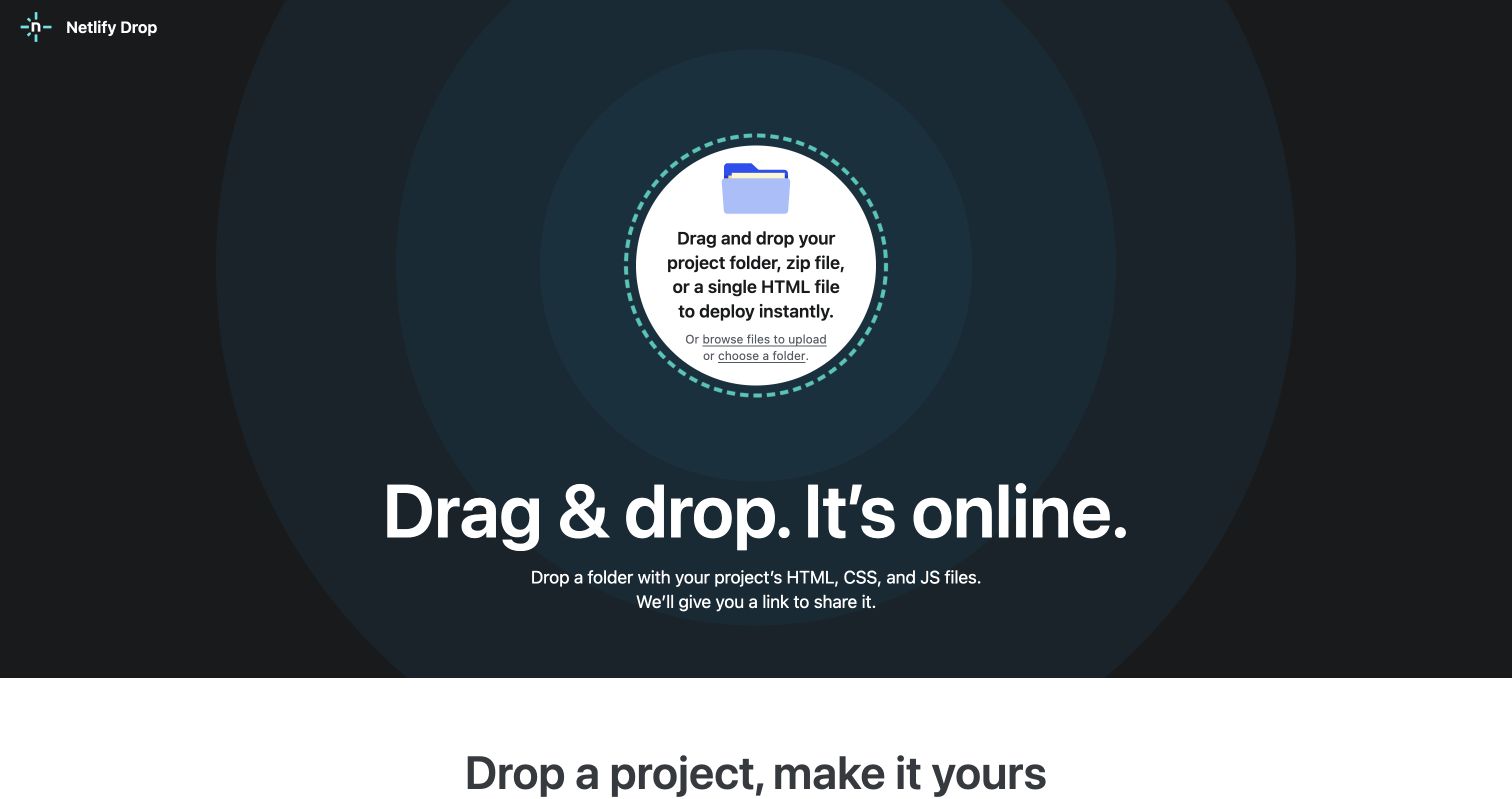
Go to Netlify Drop. The upload area accepts a project folder, a ZIP file, or a single HTML file.
2. Drop in the built website
Drag the complete build folder into the upload area. Netlify uploads the files and creates a deployment URL. Check Netlify’s deployment guide for the current upload and account options.
Wait for the deployment to finish before closing the tab. If the published page is blank, the most common cause is uploading the wrong folder. Find the folder that contains the final index.html and deploy that one instead.
3. Test the Netlify URL
Open the generated link and check:
- The homepage loads without a directory listing
- CSS, fonts, images, and JavaScript load
- Every internal link opens
- A deeper page survives a direct refresh
- The layout works on a phone
Single-page apps may need a rewrite rule so every route falls back to index.html. Add the framework’s recommended Netlify redirect before the next deploy.
4. Claim the site
A first Drop deployment can work without an account. Create a free Netlify account or sign in to an existing one to claim the site, choose a readable name, retain ownership, and publish updates.
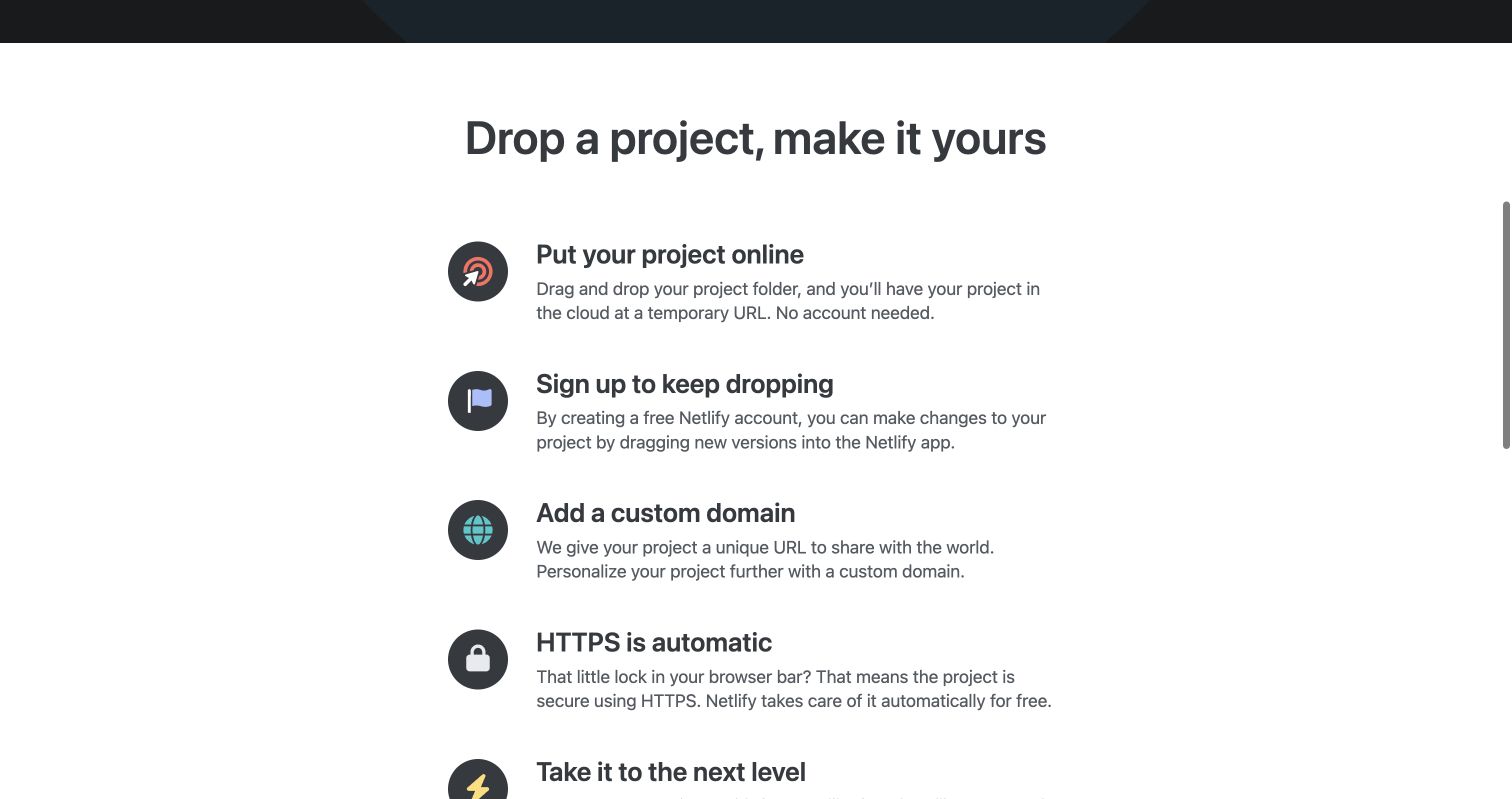
The Drop page explains the flow from a temporary URL to an owned project and custom domain.
5. Add a custom domain
Inside the claimed project, open Domain management, add your domain, and follow Netlify’s DNS instructions. Keep the .netlify.app address until the custom domain is active and HTTPS is ready.
Use the official Netlify domain documentation if your DNS is hosted elsewhere.
Update the site
For occasional changes, drag the new build into the project’s deploy area. If the website will change frequently, connect a Git repository so each push creates a deployment and pull requests can get previews.
| Check | Ready when |
|---|---|
| Upload folder | index.html is at the root |
| Published page | The .netlify.app URL opens |
| Assets | Images, CSS, and JavaScript load |
| Routes | Direct page refreshes work |
| Ownership | The site is claimed before you rely on it |
Your site is live.
Get Email address for your AI agent
- Create a cloud bucket and copy its
<unique.id>@revdokumail.comemail address. - Emails sent to this email are saved as JSON and Markdown, attachments are extracted.
- Connect AI agents to read and manage saved emails and files via the API, CLI, MCP, or Skill.