How to publish an AI-generated site on Vercel
Vercel is a natural fit for a vibe-coded frontend built with Next.js, React, Astro, SvelteKit, or another modern framework. The simplest repeatable workflow is to import a Git repository and let every push create a deployment.
Before you start
Make sure the project runs locally and has:
- A
package.jsonwith the correct build script - A production build that finishes without errors
- Secrets removed from the repository
- A GitHub, GitLab, or Bitbucket repository
Plain HTML also works. In that case, the project may need no build command.
1. Push the project to Git
Create a repository and push the source code. Do not commit .env files, private API keys, service credentials, or database passwords.
If the app calls a backend, confirm that the backend accepts requests from the future Vercel domain.
2. Import the repository
Open Vercel, choose Add New → Project, connect your Git provider, and select the repository. Vercel detects many frameworks automatically.
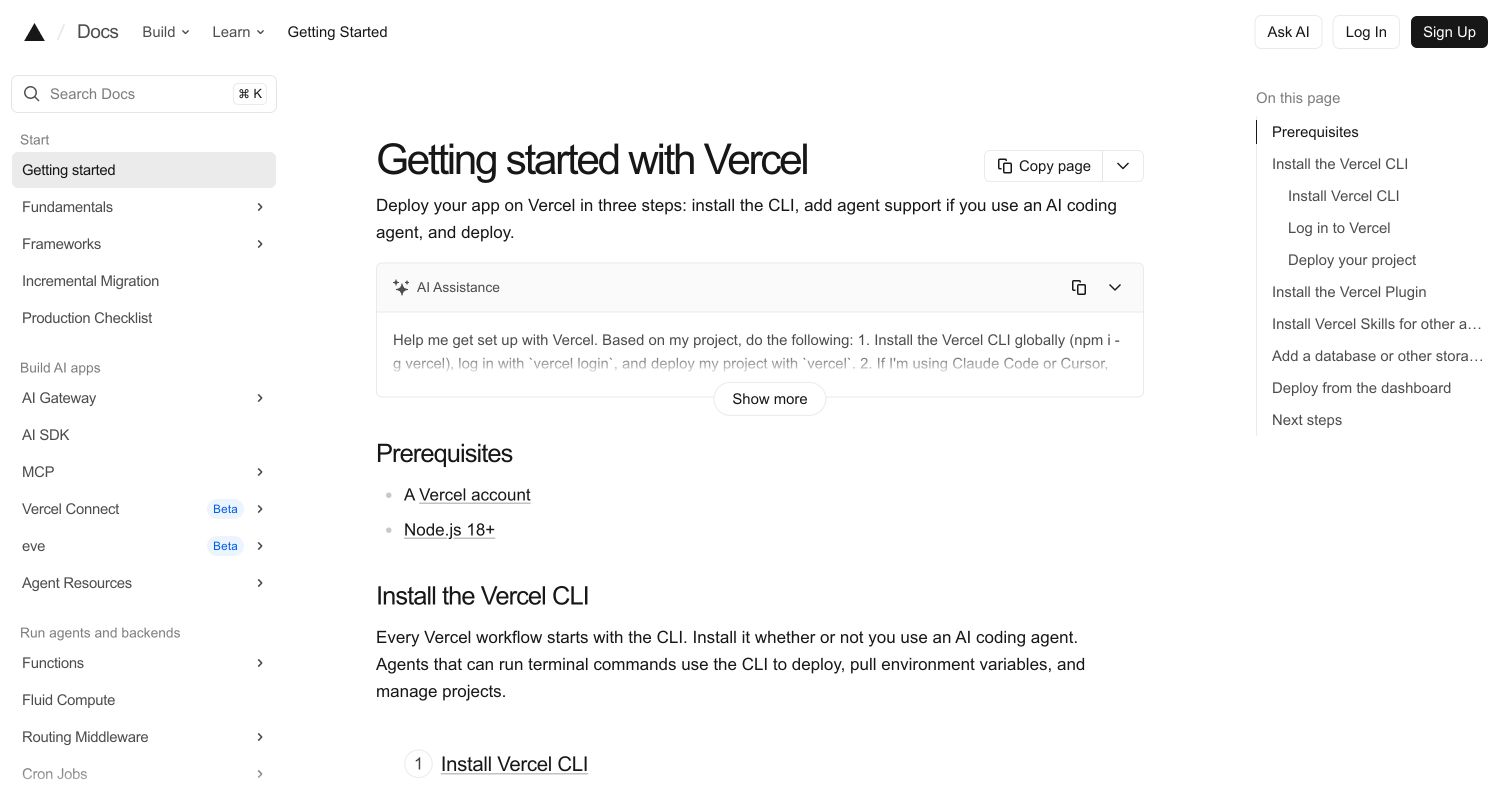
The Vercel getting-started guide covers the same import workflow.
3. Check the build settings
Review the detected framework, root directory, build command, and output directory.
Common patterns include:
- Next.js: Vercel normally detects everything
- Vite: build command
npm run build, outputdist - Astro: build command
npm run build, outputdist - Plain HTML: no build command, project root as the output
If the app lives in a subfolder, set the root directory before deploying.
4. Add environment variables
Open the project’s environment-variable section and add only the values the production build or server code needs. Use the project settings in the dashboard; never paste secrets into source files.
Remember that variables exposed to browser JavaScript are public even when entered through a dashboard. Follow your framework’s naming rules.
5. Deploy and test
Select Deploy. Vercel builds the project and gives it a .vercel.app URL.
Open that URL and test:
- The homepage and important routes
- A direct refresh on a nested route
- Forms and API calls
- Images and fonts
- Mobile layout
- Runtime and build logs
Fix the first reported build error rather than changing several settings at once.
6. Add a custom domain
Open Settings → Domains, add the hostname, and follow the DNS instructions. Vercel provisions HTTPS after the DNS records point to the project.
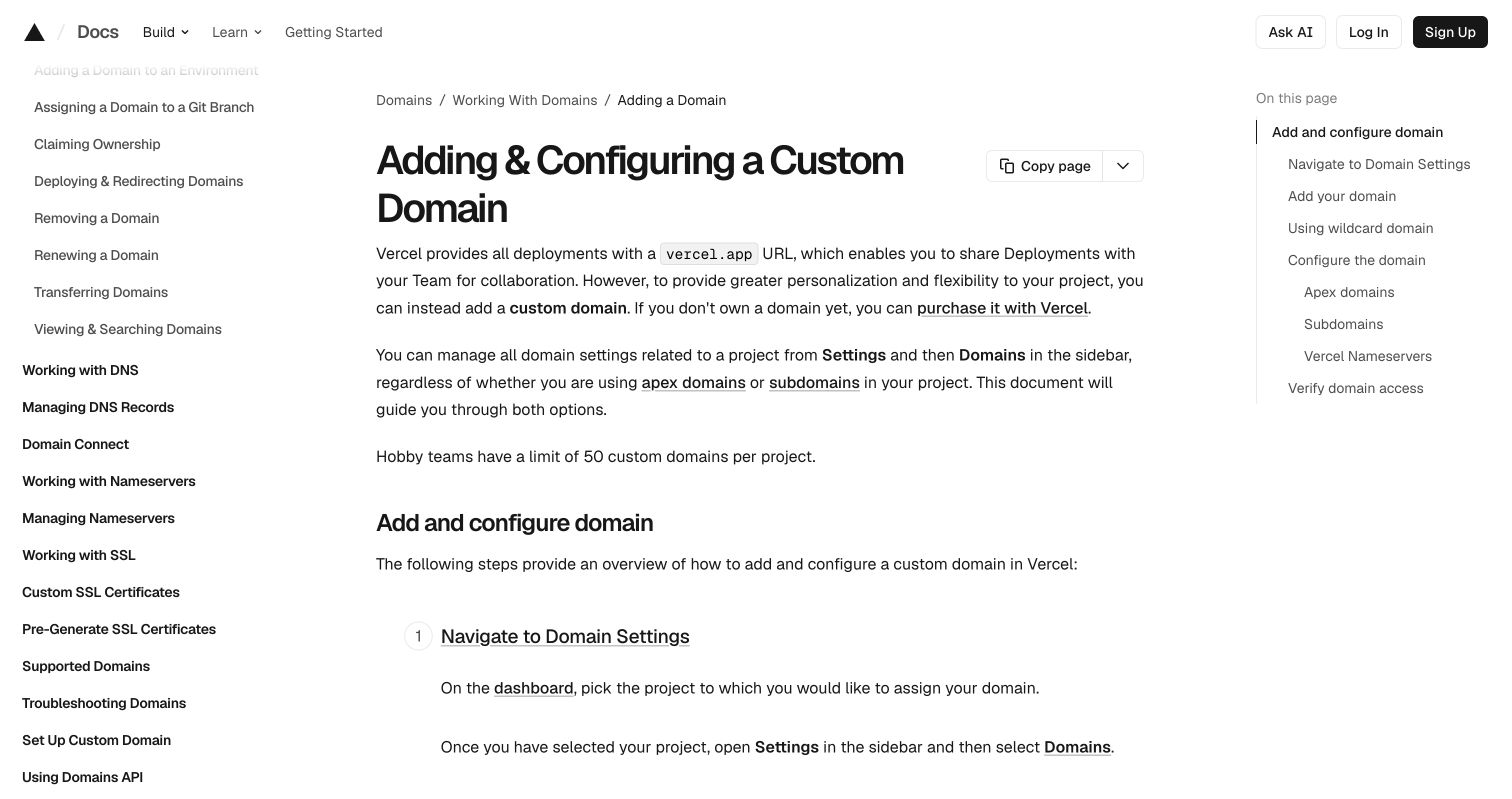
The official Vercel domain guide explains apex domains, subdomains, and external DNS.
Update the site
Push a commit to the production branch. Vercel builds and publishes it automatically. Pull requests can get preview URLs, so you can review a change before merging it.
Vercel’s Hobby plan is intended for personal, non-commercial use. Check the current plan terms before using it for paid client or business work.
| Check | Ready when |
|---|---|
| Build | The production command succeeds locally |
| Secrets | Private values live in environment settings |
| Deploy | The .vercel.app URL opens |
| Routes | Direct refreshes and API calls work |
| Domain | The custom hostname loads over HTTPS |
Your site is live.
Get Email address for your AI agent
- Create a cloud bucket and copy its
<unique.id>@revdokumail.comemail address. - Emails sent to this email are saved as JSON and Markdown, attachments are extracted.
- Connect AI agents to read and manage saved emails and files via the API, CLI, MCP, or Skill.