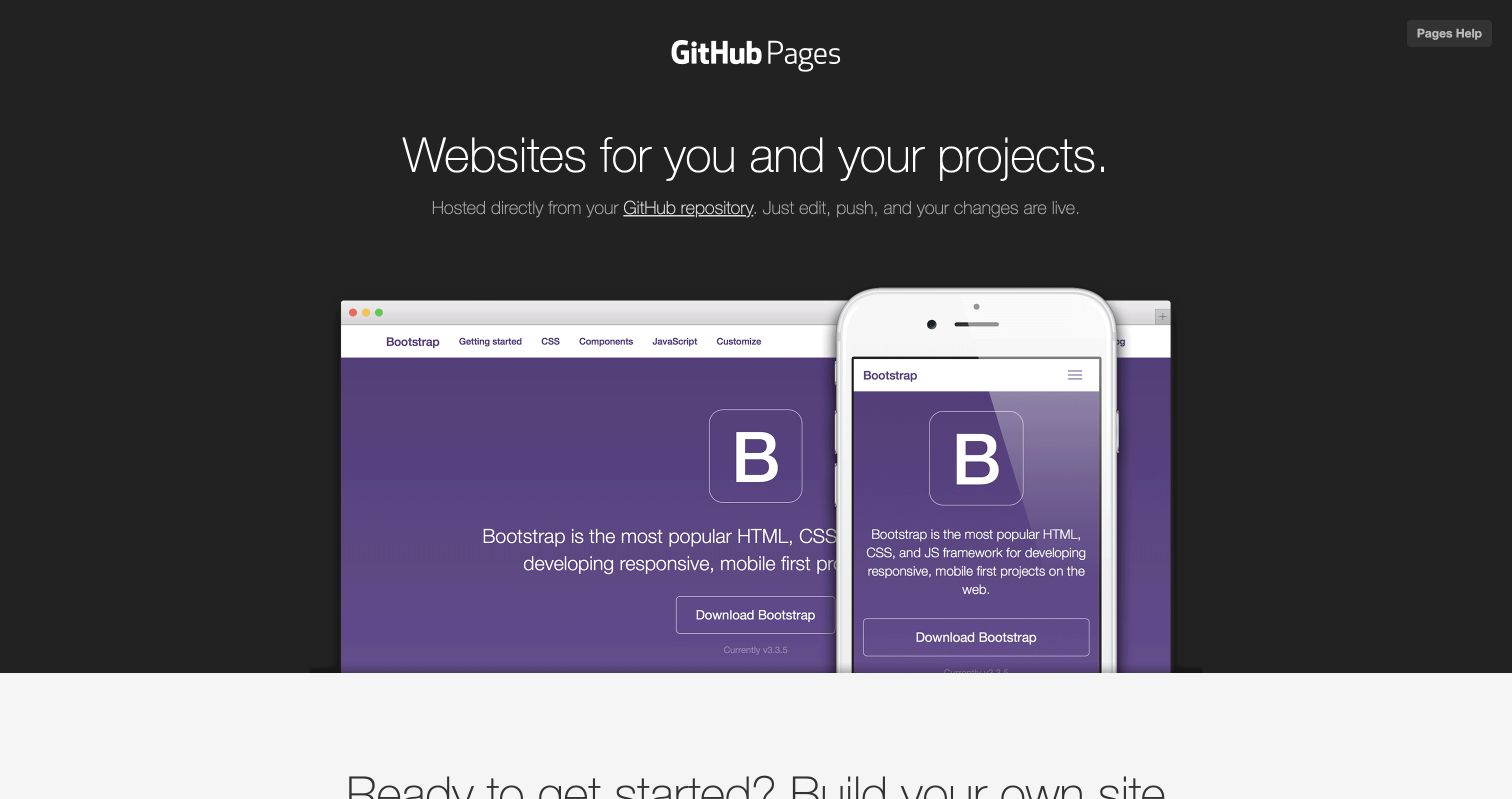
How to publish an AI-generated site on GitHub Pages
GitHub Pages publishes a static website directly from a GitHub repository. It works well for public portfolios, documentation, demos, and project pages that do not need a server or database.
Before you start
Prepare a static website with index.html at the publishing root. If your project uses a framework, build it first and decide whether you will commit the output folder or use a GitHub Action.
GitHub Pages sites on free accounts are public. Do not put secrets, private client data, or API keys in the repository.
1. Create a GitHub repository
Sign in to GitHub, create a repository, and give it a short name. A project named portfolio normally publishes at:
https://YOUR-NAME.github.io/portfolio/A repository named YOUR-NAME.github.io publishes at the account root instead.
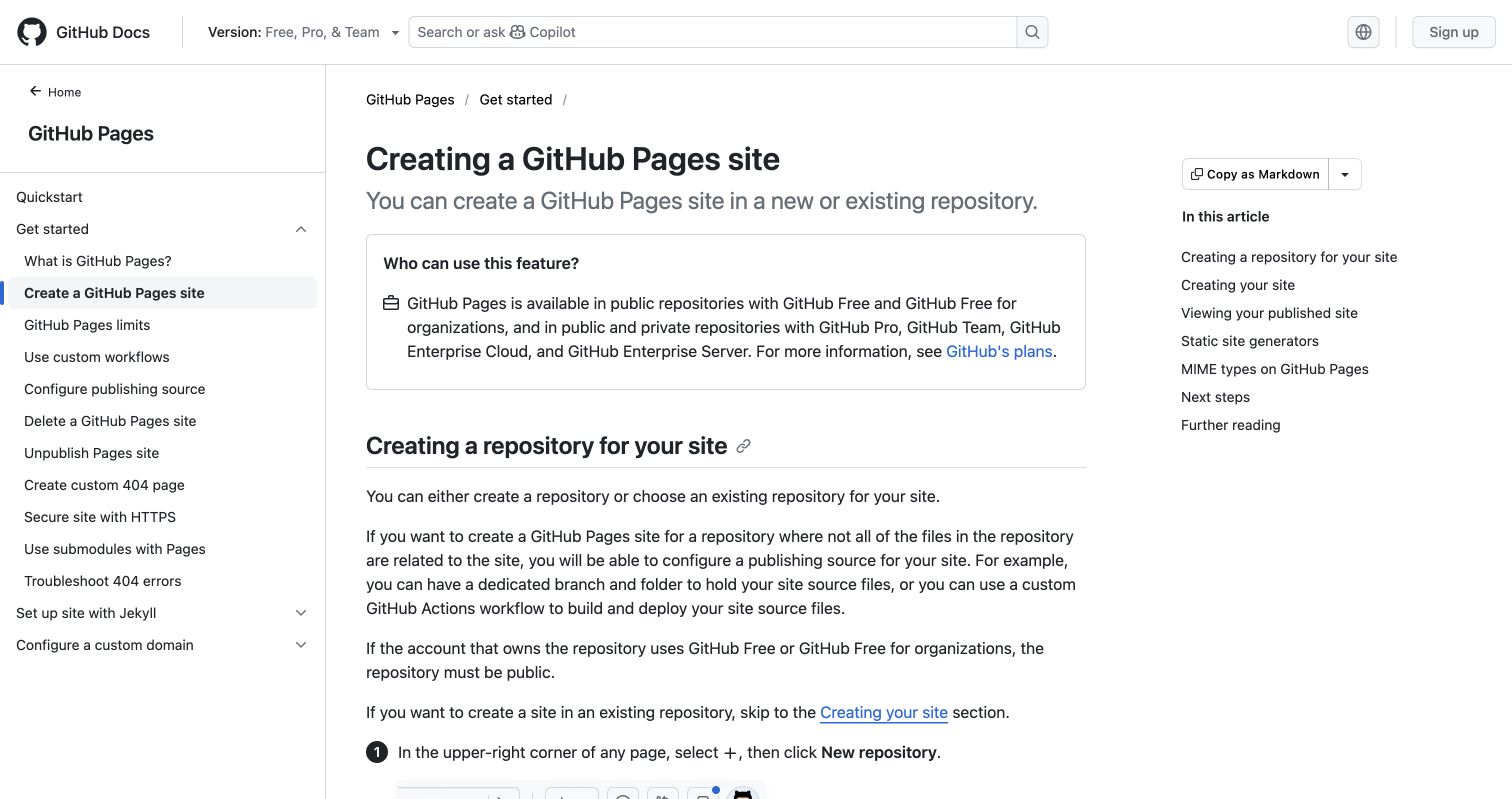
2. Add the website files
Upload the files through GitHub’s web interface or push them with Git. Keep index.html in the repository root if you plan to publish from /(root).
Check asset paths. A path beginning with / points to the domain root and can break on a project site. Relative paths such as assets/logo.png are usually safer.
3. Turn on GitHub Pages
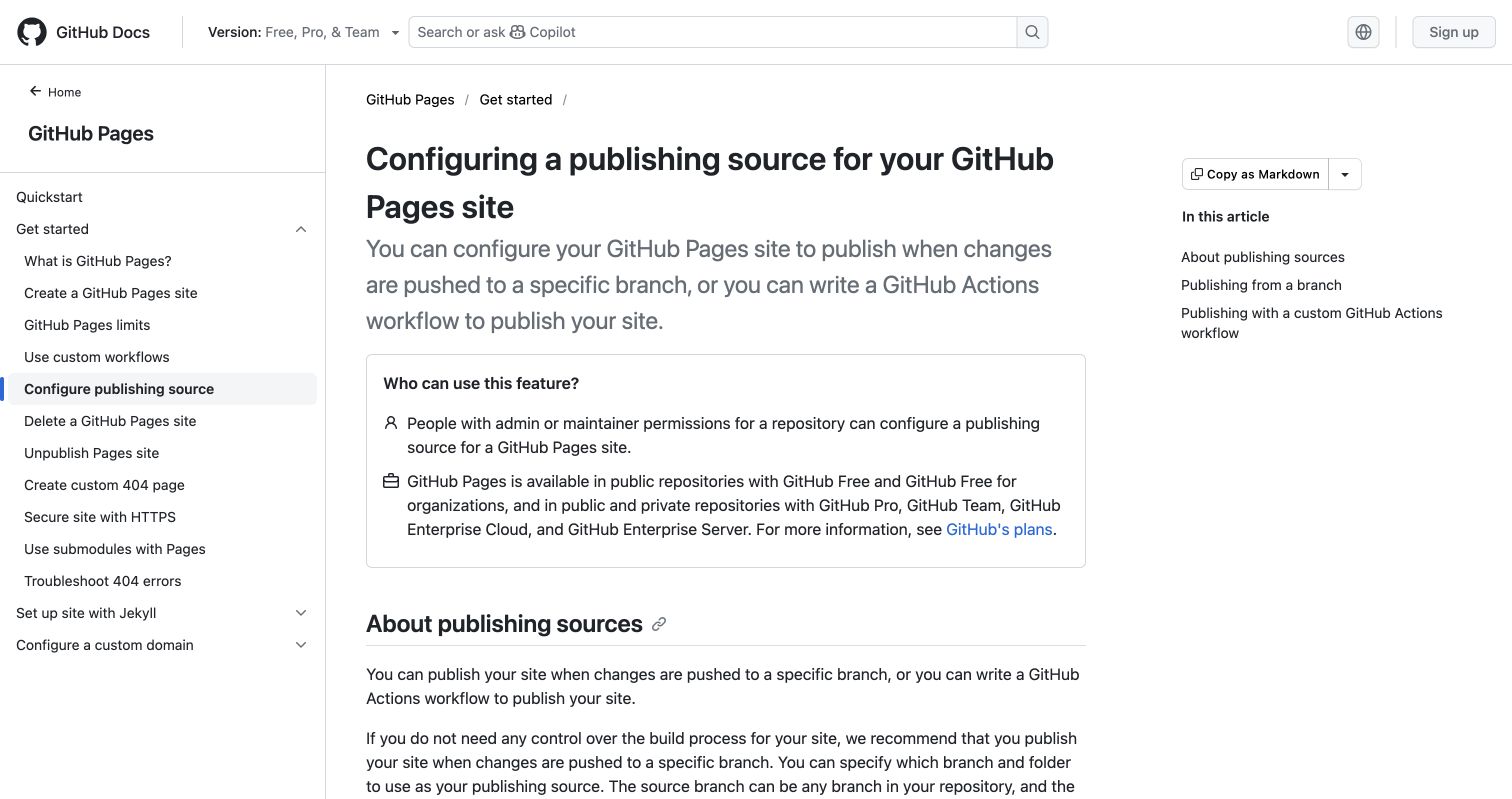
Open Settings, choose Pages, then select Deploy from a branch under Build and deployment.
Choose:
- Branch:
main - Folder:
/(root)if the site files are at the repository root - Folder:
/docsif you placed the site in adocsfolder
Save the setting. GitHub starts a deployment and shows the public URL when it is ready.
4. Open and test the site
The first deployment may take a few minutes. Open the Pages URL from the repository settings and check:
- Navigation and relative links
- Images, fonts, CSS, and scripts
- Mobile layout
- Direct links to nested HTML pages
- The browser console for missing files
GitHub Pages is static hosting. Login systems, server code, private environment variables, and databases require another service.
5. Add a custom domain
In Settings → Pages, enter the custom domain and save it. Add the DNS records GitHub shows, then enable Enforce HTTPS when it becomes available.
Follow the official GitHub custom domain guide and verify the domain before depending on it.
Update the site
Edit or replace the files and push them to the publishing branch. GitHub Pages redeploys automatically. Check the repository’s Actions tab if an update does not appear.
| Check | Ready when |
|---|---|
| Repository | It contains no secrets or private data |
| Entry file | index.html is in the published folder |
| Pages source | The correct branch and folder are selected |
| Public URL | The GitHub Pages address opens |
| HTTPS | The custom domain loads securely |
Your site is live.
Get Email address for your AI agent
- Create a cloud bucket and copy its
<unique.id>@revdokumail.comemail address. - Emails sent to this email are saved as JSON and Markdown, attachments are extracted.
- Connect AI agents to read and manage saved emails and files via the API, CLI, MCP, or Skill.