Cloudflare Pages Tutorial: Publish an AI Website
This Cloudflare Pages tutorial shows how to publish an AI-generated website from a finished static build, with no Git setup or server to manage. You will upload the files, check the .pages.dev address, connect a domain, and publish updates.
Before you start
Direct Upload suits a portfolio, landing page, or AI-made demo consisting of HTML, CSS, JavaScript, images, and fonts. It does not build source code, so export the project first.
Have these ready:
- A Cloudflare account
- The final build folder or its ZIP
- An optional domain you control
- A modern browser
Cloudflare’s Direct Upload documentation limits dashboard uploads to 1,000 files and Wrangler uploads to 20,000 files. Both methods have a 25 MiB limit per file. Use Wrangler for a larger file count; reduce or host oversized files separately.
1. Prepare the build folder
Open the folder you will upload. The file index.html must be at the folder root because it is the home page Cloudflare serves.
site-build/
├── index.html
├── styles.css
├── script.js
└── images/
If your AI builder produced src and package.json, do not upload that source as the site. Run its export or build command, then use the output folder, often dist, build, or out. Open index.html locally and check the images and styles.
2. Create a Direct Upload project
In the Cloudflare dashboard, open Workers & Pages. Select Create application, Get started, then Drag and drop your files. Enter a short project name; it becomes part of an address such as studio-demo.pages.dev.
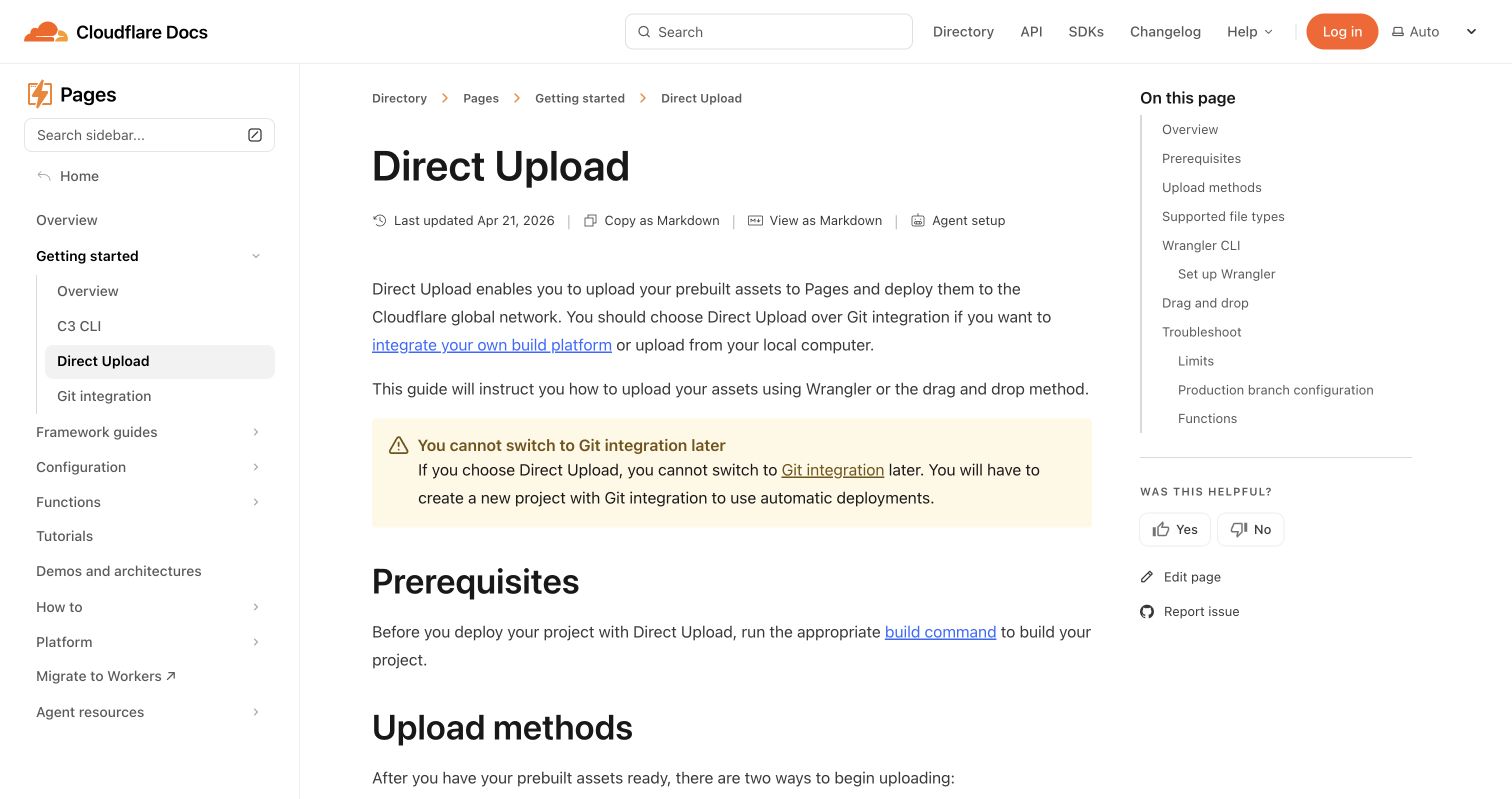
Choose carefully. A Direct Upload project cannot later switch to Git integration. Automatic Git builds would require a new project. Direct Upload is the simpler hosting route for vibe coding when you want to publish now.
3. Upload and deploy
Drag the build folder or its ZIP into the upload area. Review the file list, then select Deploy site; some dashboard screens use Save and Deploy.
Wait for the success message. If Cloudflare rejects an asset, fix or remove it locally and upload the complete build again. Dashboard drag and drop accepts folders and ZIP files; Wrangler accepts a folder.
4. Open the pages.dev URL
Open the generated <project-name>.pages.dev link, then test the site:
- Follow every navigation link.
- Reload a deeper page directly.
- Check images on desktop and mobile.
- Submit each form and confirm where its data goes.
A static deploy does not create a database or API. Server-dependent forms or sign-ins may fail even when the page looks right.
5. Add a custom domain
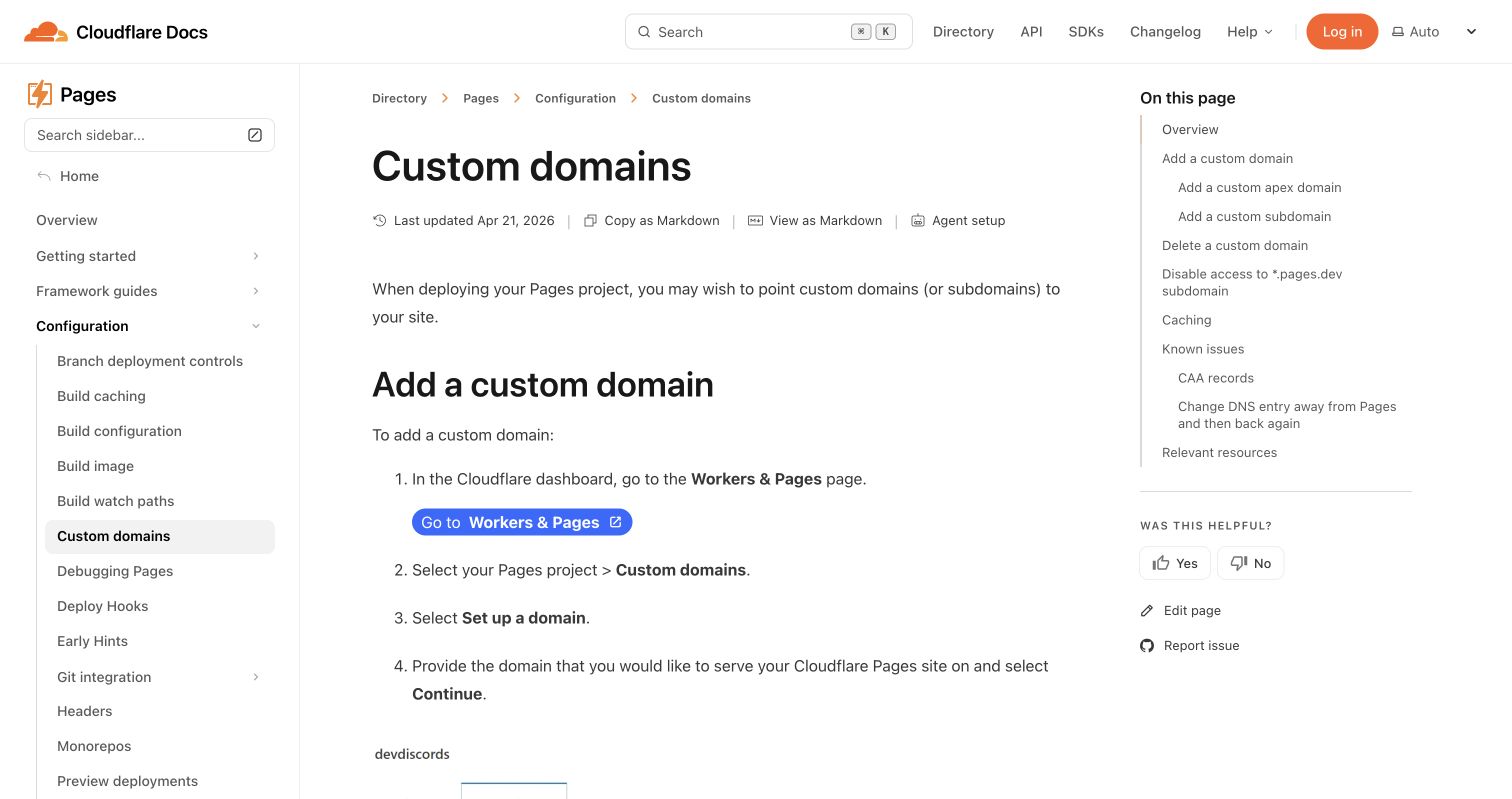
Open the project, choose Custom domains, select Set up a domain, enter the hostname, and continue. The Cloudflare custom-domain guide covers both routes:
- An apex domain such as
example.commust be a Cloudflare zone using Cloudflare nameservers. - A subdomain such as
www.example.comcan use an outside DNS provider and a CNAME to<project-name>.pages.dev.
Start inside Pages before adding the CNAME. Otherwise, Cloudflare says the hostname may return a 522 error. Wait until its status becomes active.
Update the site
Make changes, export a fresh build, and verify index.html. In the project dashboard, select Create a new deployment, choose production, and upload the replacement build. The .pages.dev address and custom domain stay unchanged.
For repeatable publishing, use Wrangler with Direct Upload:
npx wrangler pages deploy dist --project-name=studio-demoReplace dist and studio-demo with your folder and project names. Wrangler is the practical alternative when manual uploads become tedious, and it works with the existing Direct Upload project.
| Item | What to check |
|---|---|
| Home page | index.html opens at the root |
| Assets | Images, fonts, CSS, and scripts load |
| Navigation | Every internal and external link works |
| Responsive view | Main pages work on a phone |
| Domain | The custom hostname loads over HTTPS |
Your site is live.
Get Email address for your AI agent
- Create a cloud bucket and copy its
<unique.id>@revdokumail.comemail address. - Emails sent to this email are saved as JSON and Markdown, attachments are extracted.
- Connect AI agents to read and manage saved emails and files via the API, CLI, MCP, or Skill.
Related Articles
AWS Lightsail Tutorial: Publish a Vibe-Coded AI App
A beginner AWS Lightsail tutorial for publishing a vibe-coded Node app with Nginx, a static IP, HTTPS, backups, and monitoring.
Heroku Deployment Tutorial for Vibe-Coded AI Apps
Publish an AI app on Heroku through GitHub, protect secrets with Config Vars, connect a domain, and deploy updates safely.
Railway Deployment Tutorial for an AI-Generated App
A beginner Railway deployment tutorial for publishing a vibe-coded AI app from GitHub, including secrets, domains, logs, and updates.