How to Migrate a GitHub Pages Website to Revdoku
Table of Contents
- GitHub Pages and Revdoku after migration
- Before migrating
- 1. Create an empty Revdoku bucket
- 2. Connect the repository
- 3. Verify the imported site files
- 4. Publish with the appropriate access mode
- 5. Enable analytics and forms
- 6. Move the custom domain
- Keep the GitHub repository connected
- Migration checklist
- Next steps
- Sources checked
- GitHub Pages and Revdoku after migration
- Before migrating
- 1. Create an empty Revdoku bucket
- 2. Connect the repository
- 3. Verify the imported site files
- 4. Publish with the appropriate access mode
- 5. Enable analytics and forms
- 6. Move the custom domain
- Keep the GitHub repository connected
- Migration checklist
- Next steps
- Sources checked
How to Migrate a GitHub Pages Website to Revdoku
You can move a static GitHub Pages website to Revdoku without giving up its GitHub repository. Import the existing repository into an empty Revdoku bucket with GitHub Sync, publish the bucket, and keep automatic two-way synchronization enabled.
The main reason to migrate is not simply another public URL. Revdoku puts website analytics, password or verified-email access, and built-in forms in the same publishing workflow.
GitHub Pages and Revdoku after migration
| Need | GitHub Pages workflow | Revdoku workflow |
|---|---|---|
| Store and review site files | GitHub repository, commits, and pull requests | Keep the same repository connected with GitHub Sync |
| Publish static files | Publish from a branch or GitHub Actions | Publish the synced Revdoku bucket |
| Understand visits | Add analytics code or another service | Use Revdoku website and visitor analytics |
| Restrict visitor access | Private Pages access is an Enterprise Cloud feature tied to repository permissions | Choose public, password, or verified-email access for the Revdoku site |
| Collect responses | Add form code and a separate handler or service | Enable Revdoku feedback or contact forms |
GitHub remains useful for version control and developer collaboration. Revdoku becomes the sharing and publishing layer around the same static files.
Before migrating
Confirm that the repository contains browser-ready static files. A simple site normally includes an index.html file plus CSS, JavaScript, images, and other assets.
If GitHub Actions, Jekyll, or another build tool generates the website, identify the final output directory first. Revdoku needs the generated files that a browser can open; server-side applications, databases, and long-running processes require a different hosting setup.
Also record:
- The current GitHub Pages URL and custom domain, if any.
- The branch and directory used as the publishing source.
- Redirects, custom
404.html, and absolute asset paths. - Forms, analytics scripts, or third-party services currently embedded in the site.
1. Create an empty Revdoku bucket
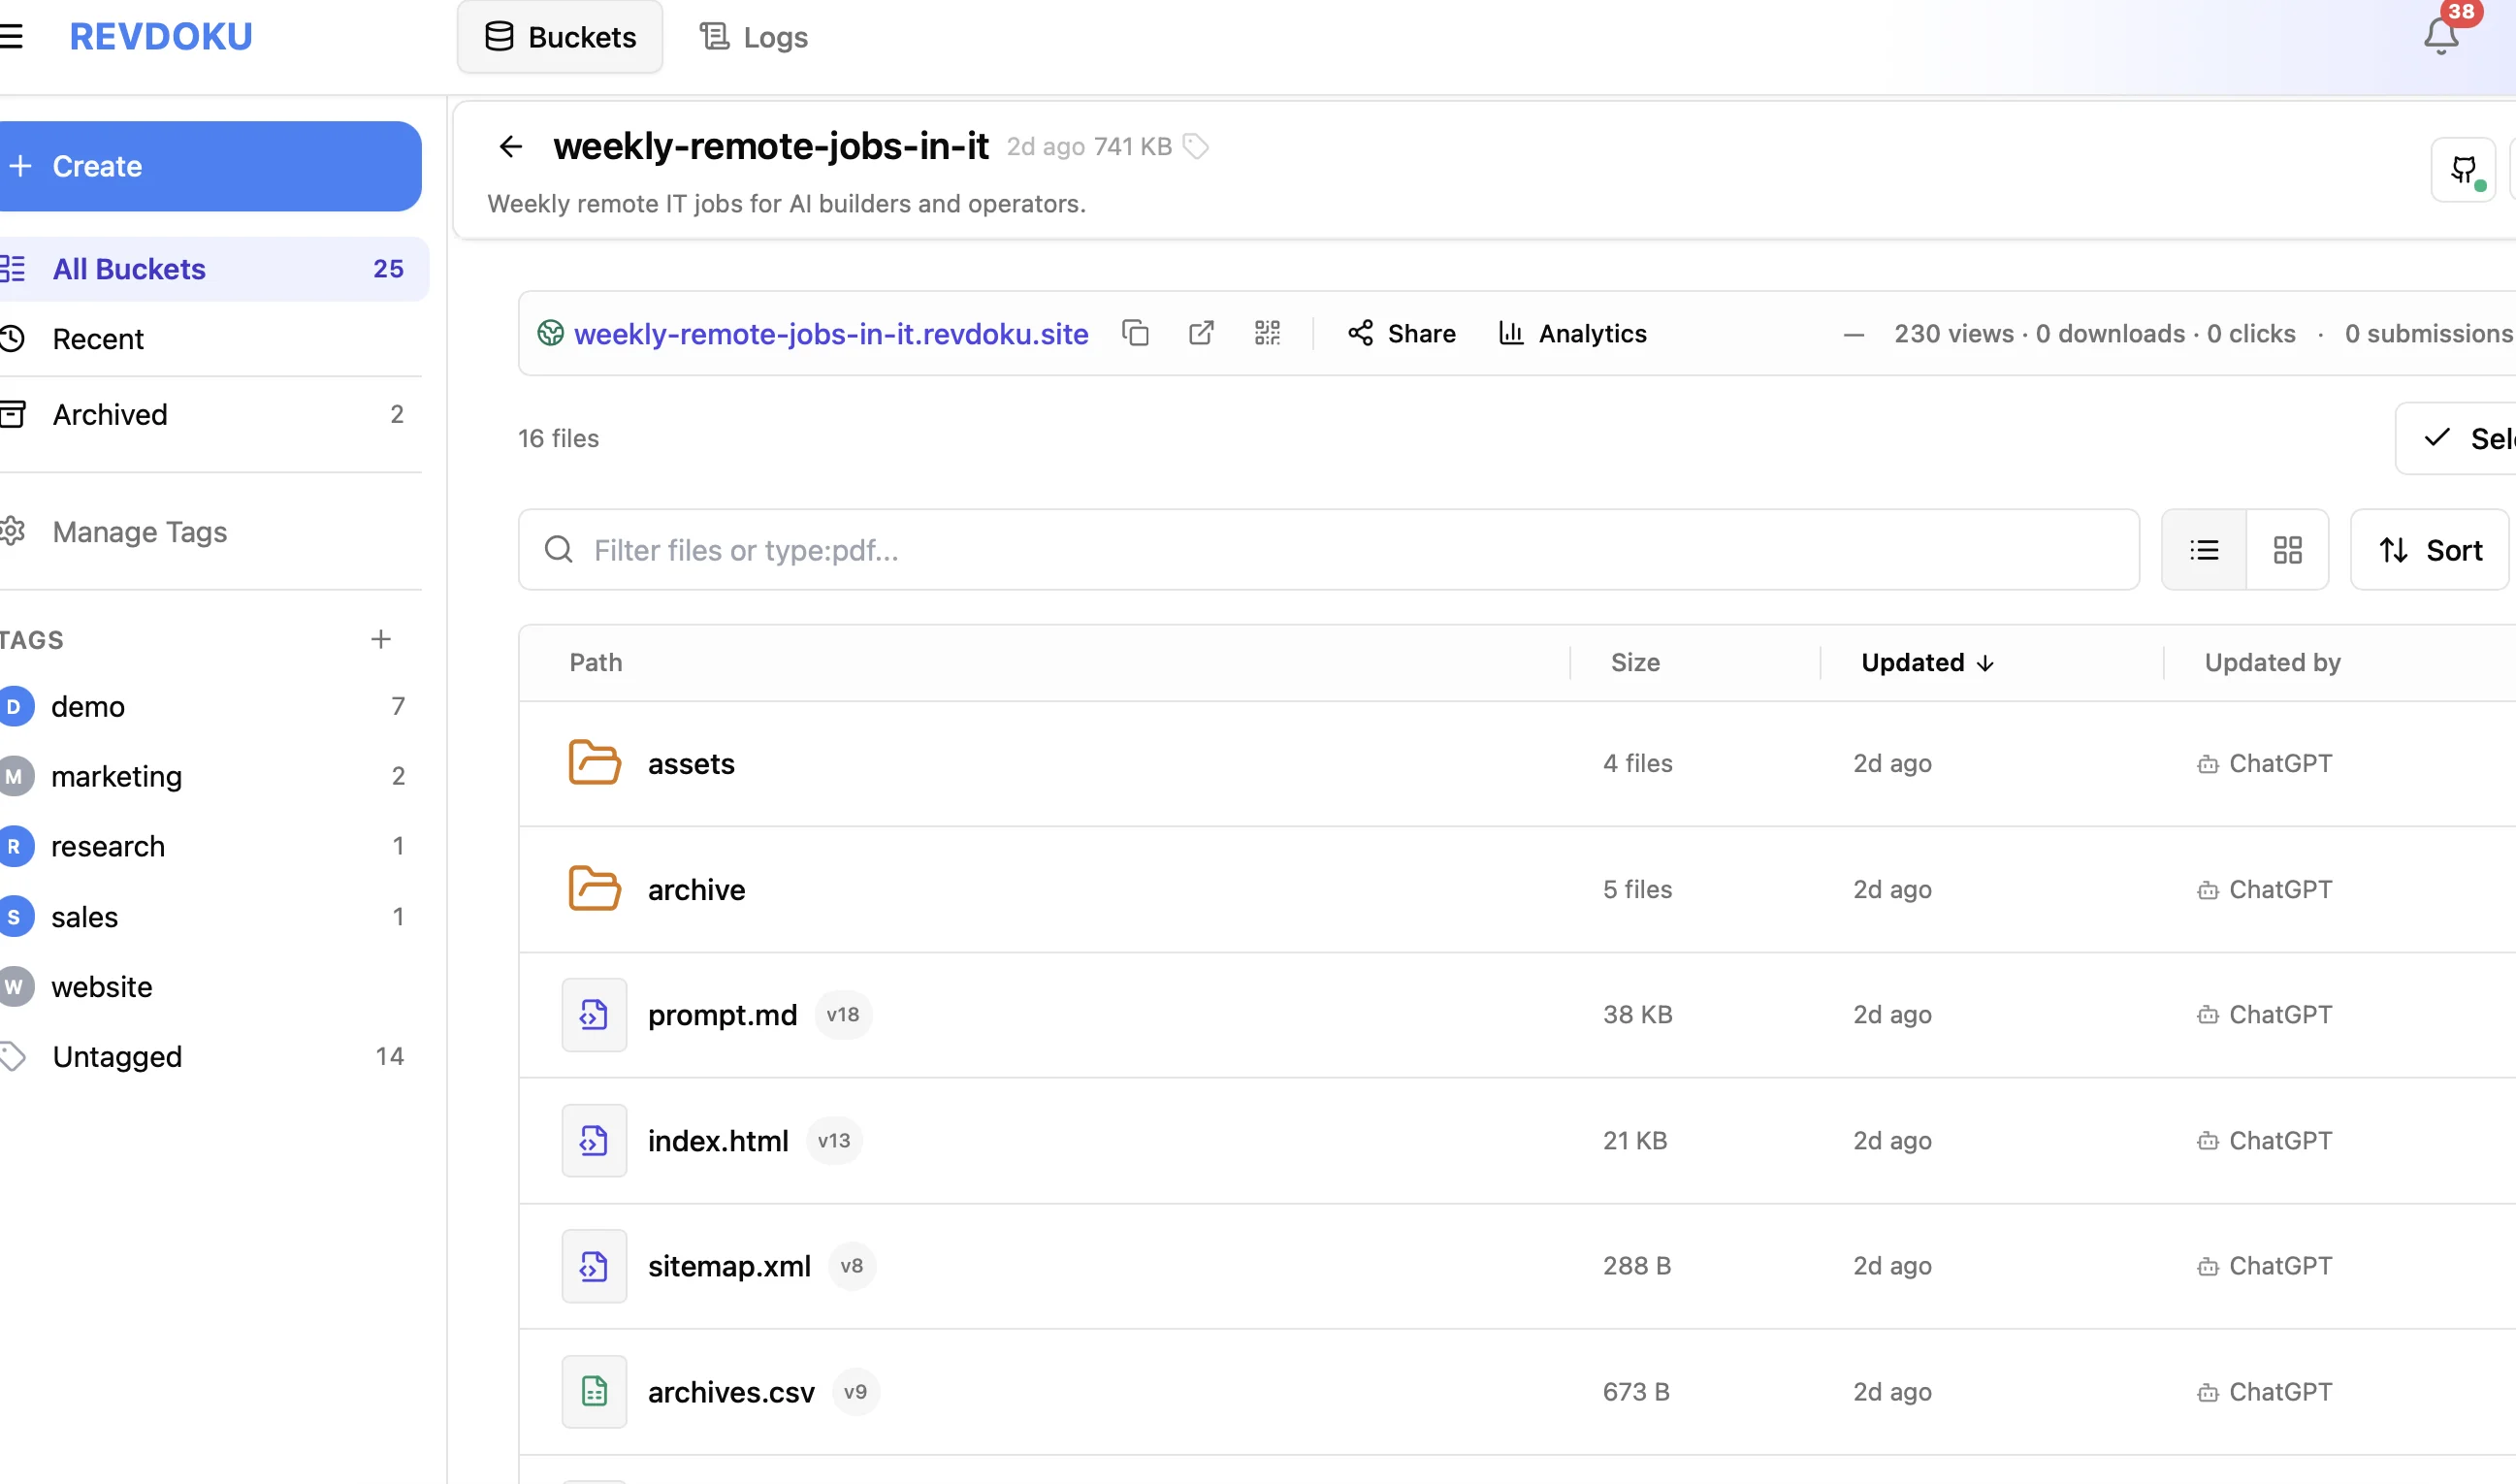
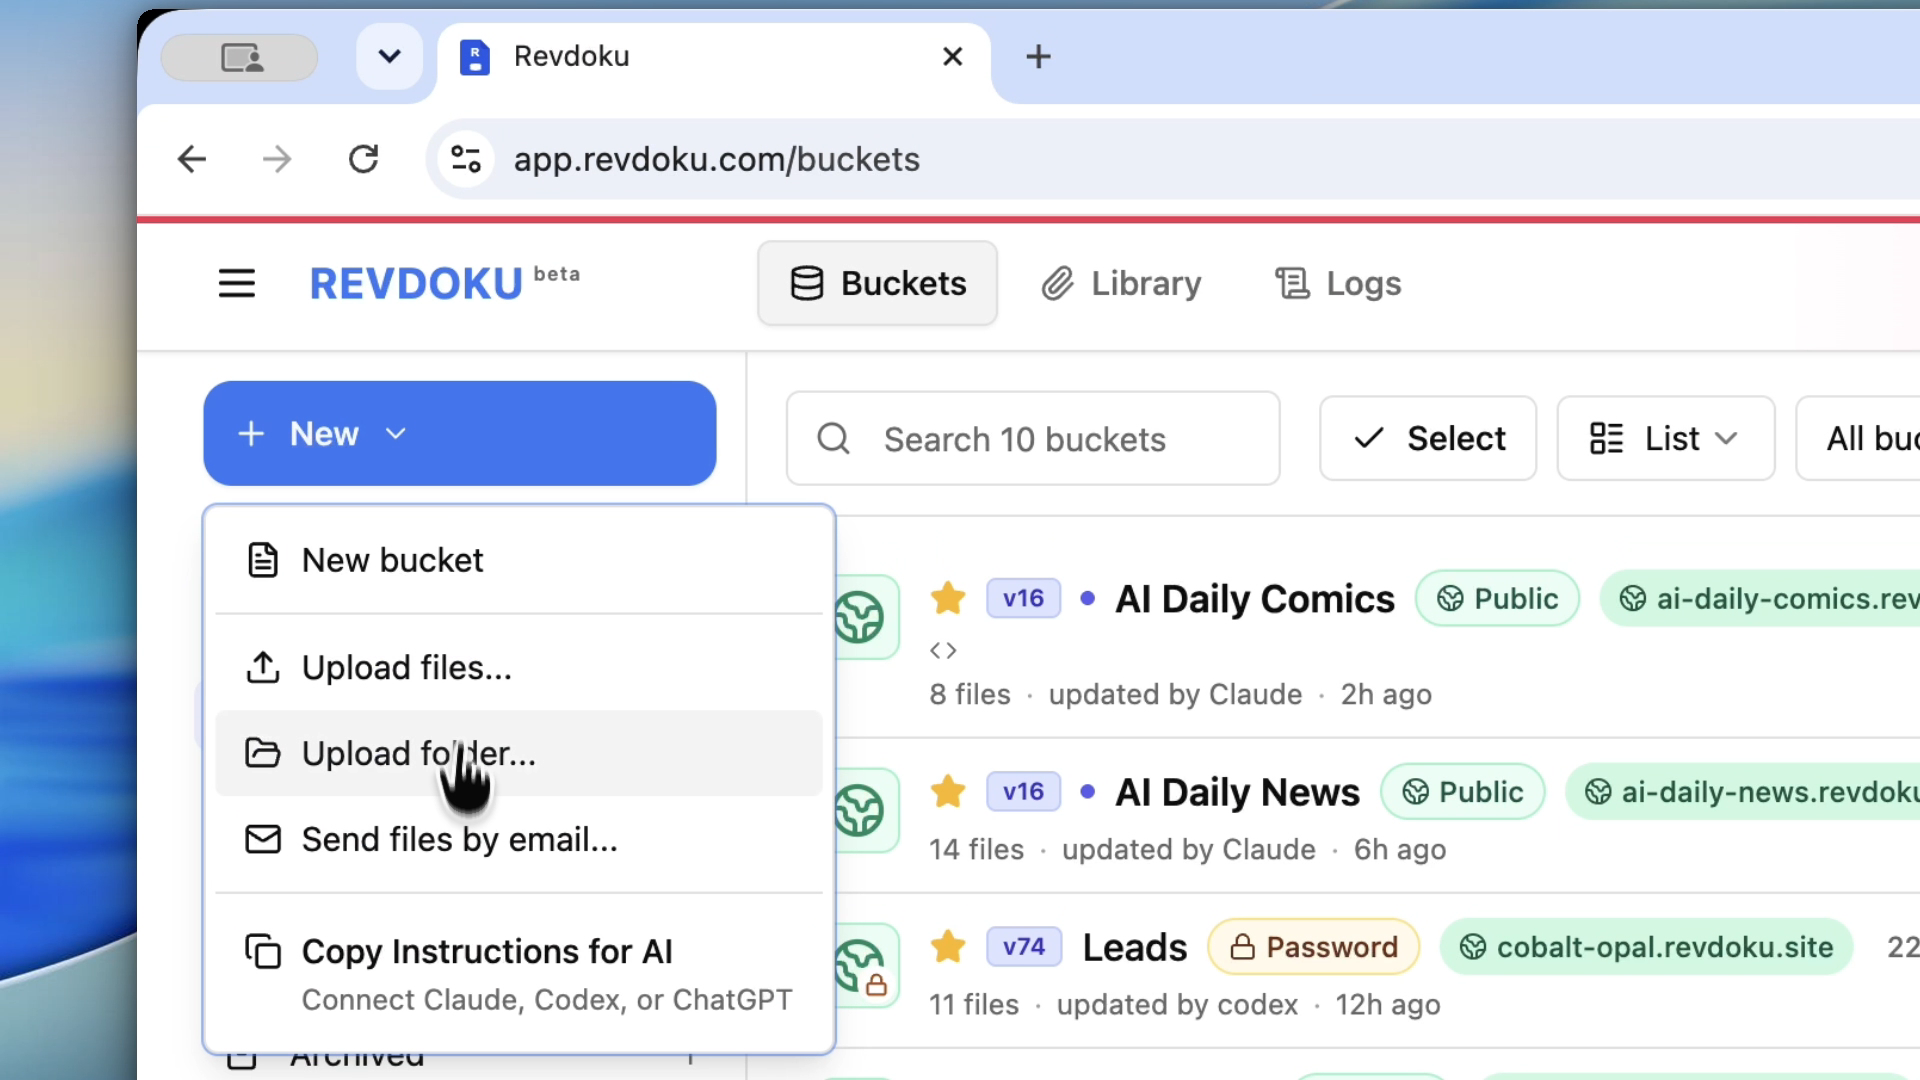
Create a bucket for the website, but do not upload other files before importing the repository. The Existing GitHub repository setup is designed to import into an empty bucket.
2. Connect the repository
In the bucket menu, open Bucket Settings → GitHub Sync, select Connect GitHub, and authorize the GitHub account or organization that owns the website repository.
Choose Existing GitHub repository, select the repository and branch, and start the import. The detailed screenshots are in How to set up GitHub Sync in Revdoku.
3. Verify the imported site files
Check that the bucket contains index.html and every referenced asset. Pay special attention to:
- Root-relative paths such as
/assets/logo.svg. - Project-site paths that previously included a GitHub repository name.
- Letter case in filenames.
- Generated folders that may have been excluded from Git.
- Custom-domain files such as
CNAME, which do not configure the Revdoku domain by themselves.
Fix any path assumptions, let GitHub Sync finish, and test the bucket contents before switching traffic.
4. Publish with the appropriate access mode
Publish the bucket as a Revdoku website, then choose the access mode:
- Public for a normal marketing, documentation, or portfolio site.
- Password for a shared protected preview.
- Verified email when each visitor should sign in with an email verification code.
Test the generated Revdoku URL on desktop and mobile. Open nested pages, images, downloads, and external links.
5. Enable analytics and forms
Use Revdoku analytics to review views, visitors, paths, and outbound clicks without adding a separate analytics script to every page.
For responses, enable a built-in feedback or contact form. This is useful for migrated landing pages, client previews, reports, and documentation sites that need a question, approval, or contact flow. Test a real submission and confirm where its notification appears.
6. Move the custom domain
If the GitHub Pages site uses a custom domain, configure that domain for the Revdoku website and follow the displayed DNS instructions. Keep the old site available until the Revdoku URL, HTTPS, assets, analytics, and forms all pass testing.
After DNS changes propagate, verify both the apex and www hostnames you intend to support. Only then remove the old GitHub Pages deployment or its custom-domain configuration.
Keep the GitHub repository connected
Migration does not require abandoning GitHub. Revdoku GitHub Sync works automatically in both directions, so the repository can remain the development source and backup for the bucket. Developers can commit changes in GitHub, while Revdoku or a connected AI agent can update the bucket.
Avoid changing the same file on both sides at the same time. Check the sync status and the live site after large updates.
Migration checklist
- The Revdoku bucket was empty before repository import.
- The correct repository and branch are connected.
-
index.htmland all static assets load. - Public, password, or verified-email access is configured.
- Analytics record a test visit and click.
- The feedback or contact form sends a test response.
- The Revdoku URL works before DNS changes.
- The custom domain and HTTPS work after cutover.
- GitHub Sync reports Synced after the final update.
Next steps
- Set up GitHub Sync in Revdoku.
- Compare Revdoku and GitHub Pages.
- Publish an AI-generated site on GitHub Pages if you are still choosing a publishing path.
Sources checked
- GitHub Pages publishing sources: https://docs.github.com/en/pages/getting-started-with-github-pages/configuring-a-publishing-source-for-your-github-pages-site
- GitHub Pages site creation: https://docs.github.com/en/pages/getting-started-with-github-pages/creating-a-github-pages-site
- GitHub Enterprise Cloud private Pages visibility: https://docs.github.com/en/enterprise-cloud@latest/pages/getting-started-with-github-pages/changing-the-visibility-of-your-github-pages-site
Related Articles
How to Set Up GitHub Sync in Revdoku
Connect a Revdoku bucket to GitHub, import an existing repository, or create a private repository that backs up bucket files automatically.
Best ways to publish AI-generated websites and file folders
Compare GitHub Pages, Netlify, Vercel, VPS hosting, and Revdoku for publishing AI-generated sites, reports, prototypes, and mixed file folders.