Firebase Hosting Tutorial for AI-Generated Sites
Table of Contents
An AI website builder has given you a folder full of files. Now you need somewhere to put them. This Firebase Hosting tutorial covers the shortest practical route from that folder to a public website. It works for ordinary static sites and single-page applications, or SPAs. Firebase supplies secure HTTPS addresses and distributes files through a global CDN, making it a useful choice for vibe coding hosting.
Before you start
This guide is for an already-built site containing HTML, CSS, JavaScript, images, and other browser-ready files. It does not cover server-side applications.
You need:
- A Google account
- Node.js and npm installed
- A finished site folder containing
index.html - Access to a terminal or command prompt
Firebase Hosting creates public URLs. An unlisted address should not be treated as password protection for a confidential client demo.
1. Install the Firebase CLI
The Firebase CLI connects your computer to Firebase. Open a terminal and run the command from the official Firebase CLI installation guide:
npm install -g firebase-toolsAfter installation:
- Run
firebase --versionto confirm that the command works. - Reopen the terminal if your computer cannot find
firebaseimmediately.
2. Sign in and create or choose a Firebase project
Sign in with the Google account that will own the site:
firebase loginA browser window opens so you can approve access. Then follow the official instructions to create a Firebase project, or use a project you already own.
- Use a clear project ID because it becomes part of the default address.
- For client work, confirm that the project belongs to the right person or company before deploying.
3. Run firebase init hosting and choose the correct public or dist folder
Move into the root folder of your website, then run:
firebase init hostingFollow the prompts from the Firebase Hosting quickstart:
- Choose Use an existing project, then select your Firebase project.
- Enter the folder containing the deployable
index.html. Plain static sites often usepublic; Vite and similar tools commonly producedist. Some generators usebuild. - Answer the single-page application prompt. Choose Yes for a React, Vue, or similar SPA whose browser code handles routes such as
/pricing. Firebase will send unknown paths toindex.html. Choose No when each page has its own HTML file. - Do not overwrite an existing
index.htmlwhen asked.
4. Run firebase deploy –only hosting
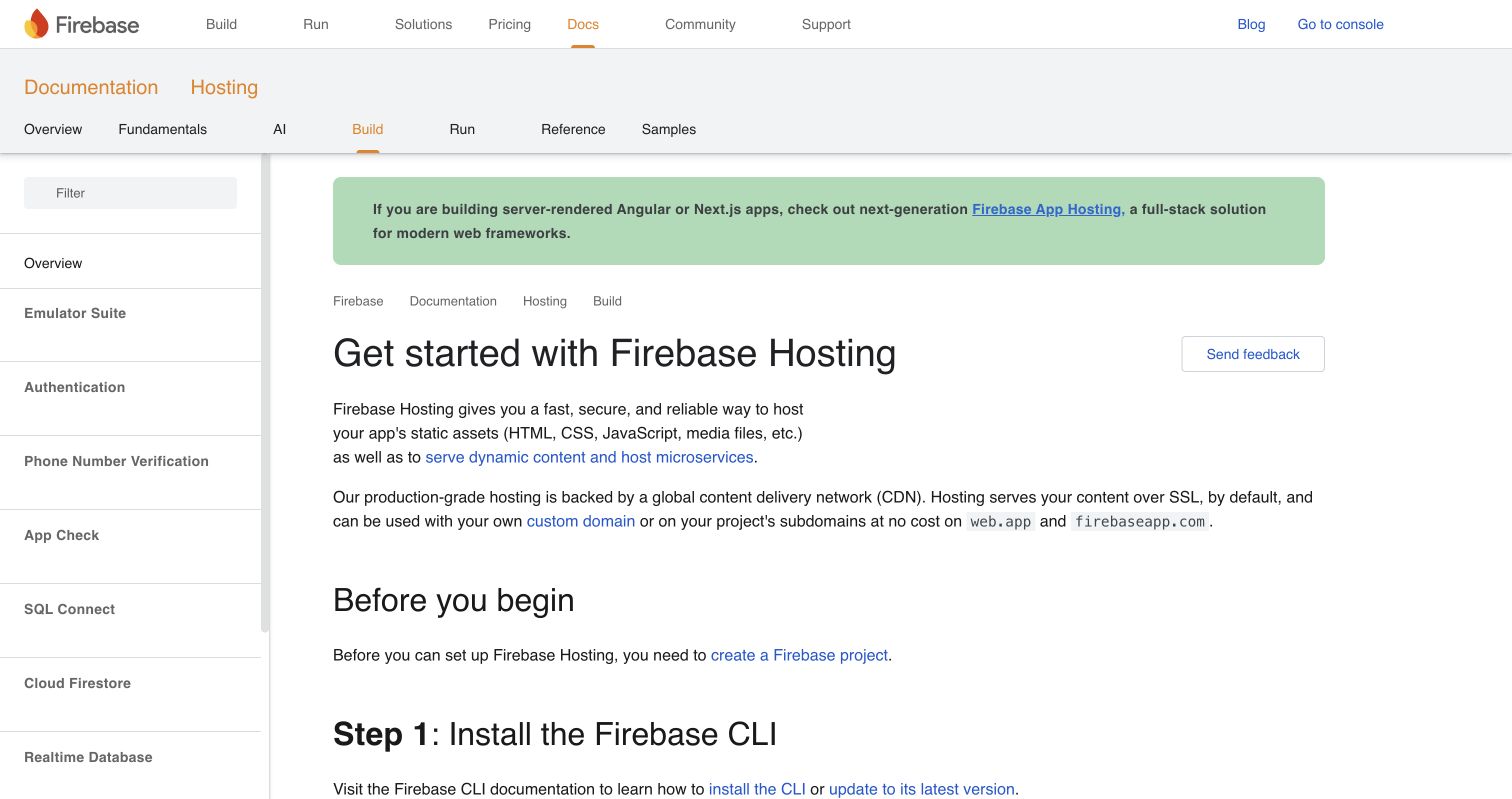
Publish the configured folder with:
firebase deploy --only hostingFirebase uploads the files and prints the result.
- Confirm that the output names the intended project.
- Save the displayed
PROJECT_ID.web.appaddress.
Firebase also provides a PROJECT_ID.firebaseapp.com address, so every deployment receives two secure default URLs.
5. Test the web.app URL
Open the web.app URL in a private browser window. Test it as a visitor would:
- Load the home page at desktop and mobile widths.
- Click navigation links and check images, fonts, and downloads.
- For an SPA, open a deep link directly and refresh it.
A refreshed SPA route that returns a 404 usually means the rewrite was not enabled. Run initialization again carefully or add the rewrite described in the official Hosting configuration guide.
6. Add a custom domain
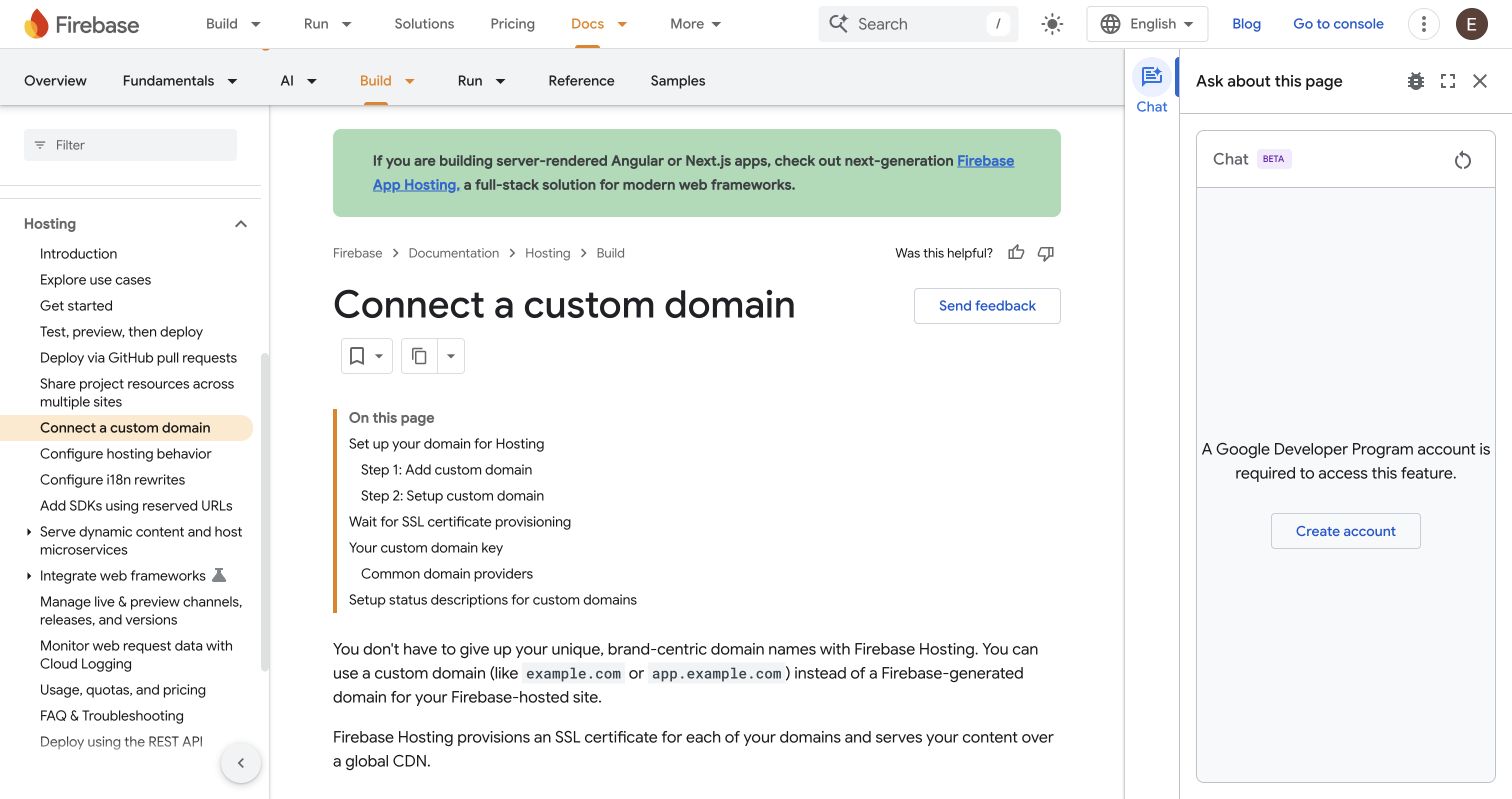
The web.app address is ready to use, but a domain such as demo.example.com looks cleaner. In the Firebase console, open Hosting and choose Add custom domain.
- Enter the domain or subdomain you want to connect.
- Copy the requested DNS records into your domain provider’s DNS settings exactly as shown.
- Wait until Firebase reports the domain as connected and provisions HTTPS.
DNS changes can require up to 24 hours to appear. Keep Firebase’s verification records in place. The official custom-domain guide explains the available setup options and common DNS problems.
Update the site
When your AI tool changes the website, rebuild it if the tool uses a build step. Then deploy the new output:
- Generate or build the latest version.
- Confirm that the configured
public,dist, orbuildfolder contains the newindex.htmland assets. - Run
firebase deploy --only hostingagain from the project root.
The existing Firebase and custom-domain links remain the same. This makes it easy to publish an AI-generated website again without sending clients a replacement URL.
Final Firebase Hosting checklist
| Item | What to check | Why it matters |
|---|---|---|
| Project | Correct Firebase project selected | Prevents publishing to the wrong account |
| Folder | Deploy folder contains index.html |
Firebase must receive built browser files |
| SPA | Deep links survive a refresh | Confirms the rewrite works |
| Domain | DNS and HTTPS show as connected | Visitors receive the branded secure address |
Your site is live.
Get Email address for your AI agent
- Create a cloud bucket and copy its
<unique.id>@revdokumail.comemail address. - Emails sent to this email are saved as JSON and Markdown, attachments are extracted.
- Connect AI agents to read and manage saved emails and files via the API, CLI, MCP, or Skill.
Related Articles
AWS Lightsail Tutorial: Publish a Vibe-Coded AI App
A beginner AWS Lightsail tutorial for publishing a vibe-coded Node app with Nginx, a static IP, HTTPS, backups, and monitoring.
Heroku Deployment Tutorial for Vibe-Coded AI Apps
Publish an AI app on Heroku through GitHub, protect secrets with Config Vars, connect a domain, and deploy updates safely.
Railway Deployment Tutorial for an AI-Generated App
A beginner Railway deployment tutorial for publishing a vibe-coded AI app from GitHub, including secrets, domains, logs, and updates.