Customize a Revdoku Website URL, Custom Domain, and Auto-Index Page
Revdoku starts from files in a bucket, but the published result can still be tuned like a small website. Use website settings to copy the live URL, control tracking, connect a custom domain, and adjust the generated Auto-Index Page template.
1. Start from a live bucket
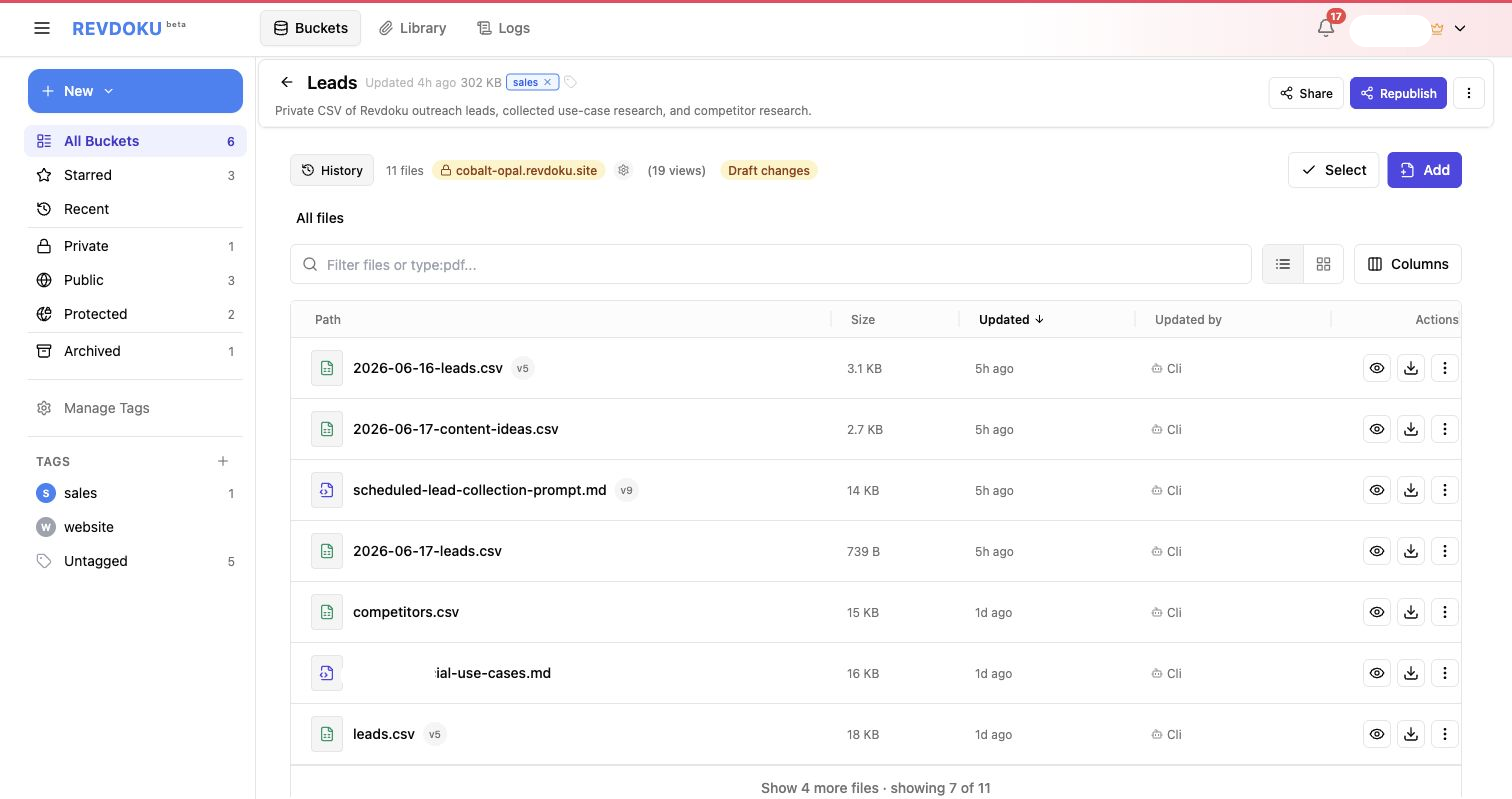
When a bucket is published, the header shows the live site state and the current Revdoku site URL. Open Website and publishing settings to manage the site.
2. Open website settings
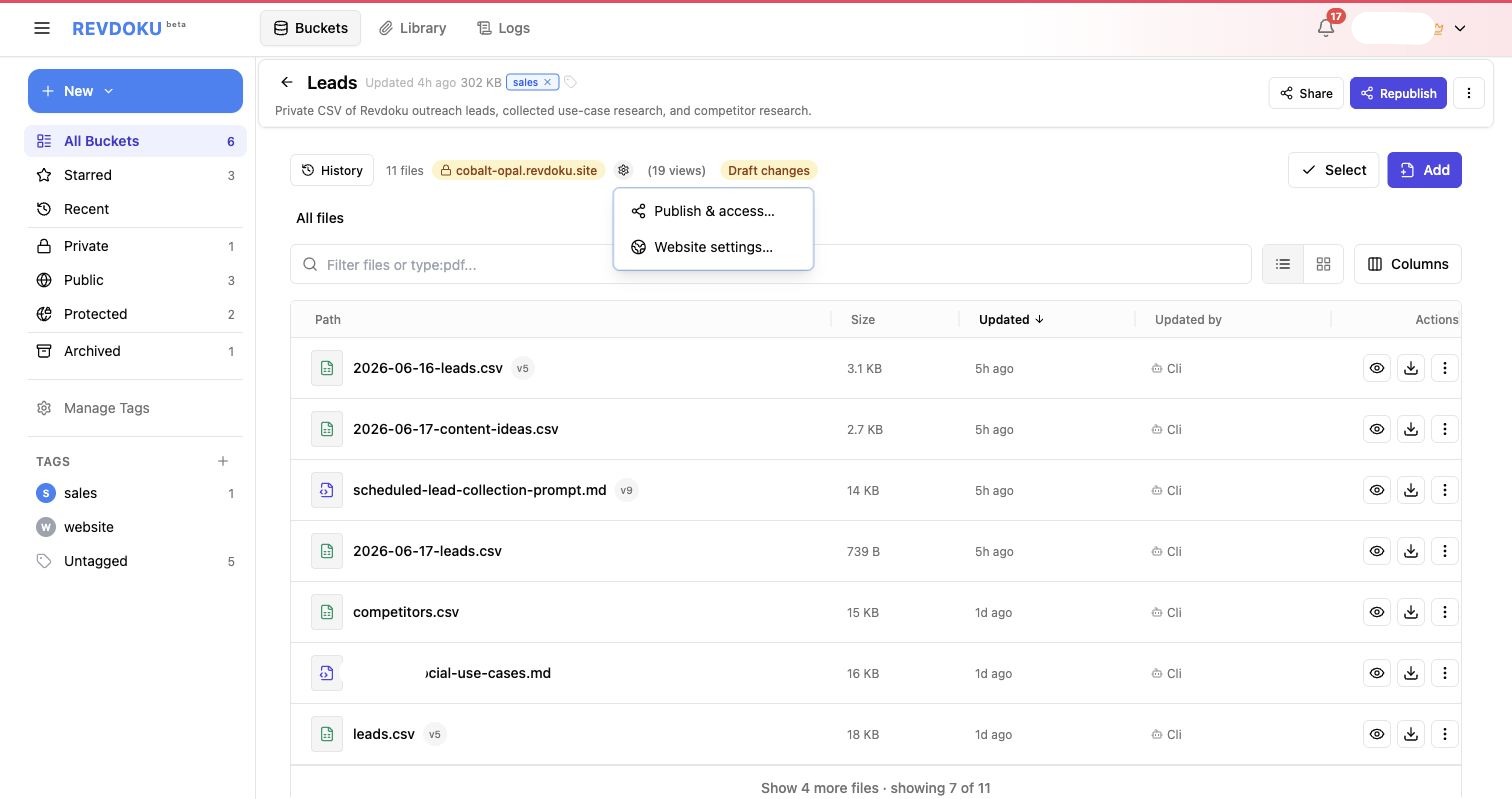
The settings menu separates publishing and access controls from website configuration. Use Website settings… for the URL, domain, tracking, password gate, Auto-Index Page, database, and miscellaneous options.
3. Review the Website URL tab
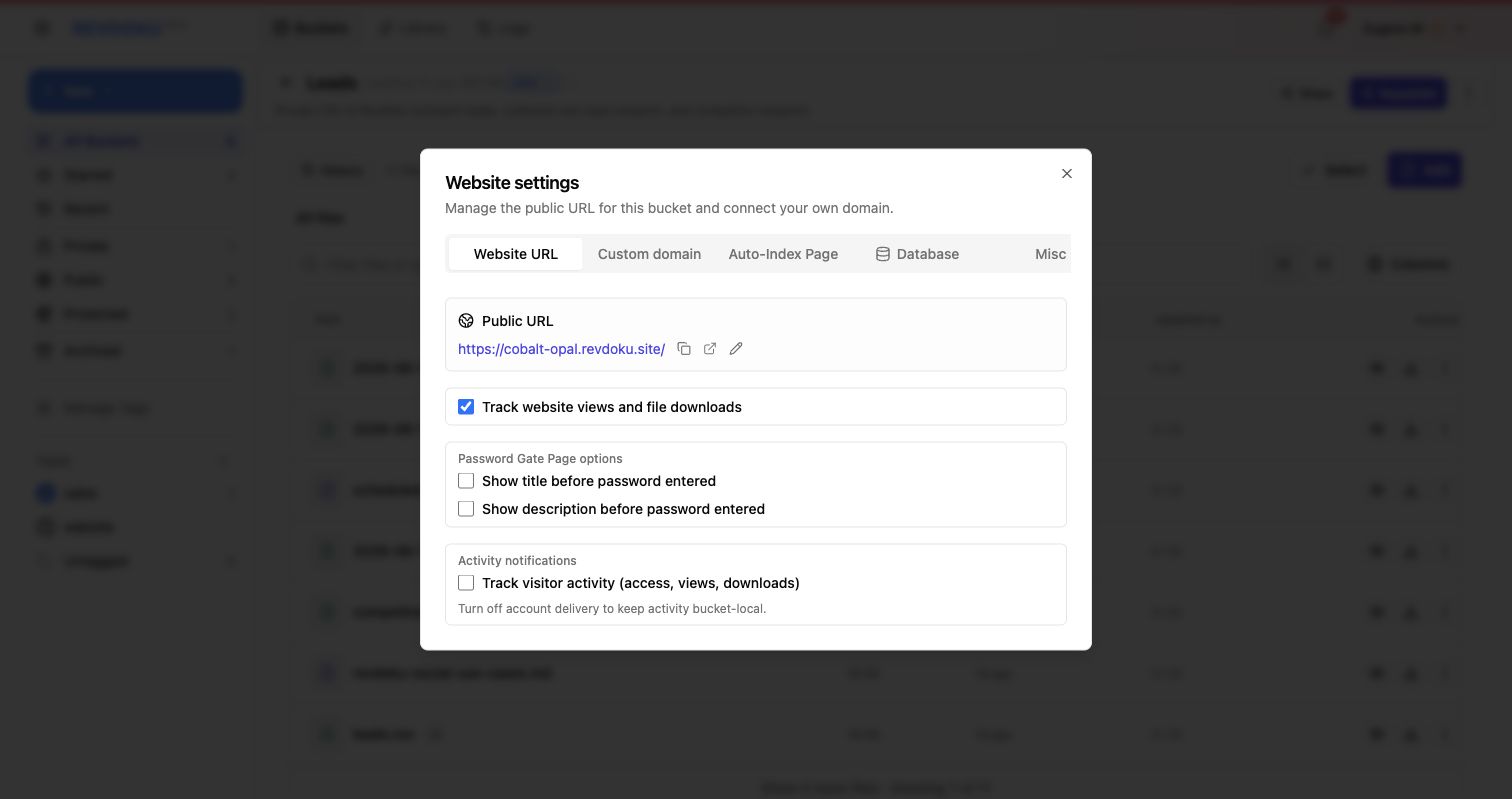
The Website URL tab shows the public URL, copy and open actions, view tracking, password gate page options, and visitor activity tracking. This is the home base for general website settings.
4. Connect a custom domain
Use the Custom domain tab when you want the Revdoku site to live on a branded domain instead of the default revdoku.site address.
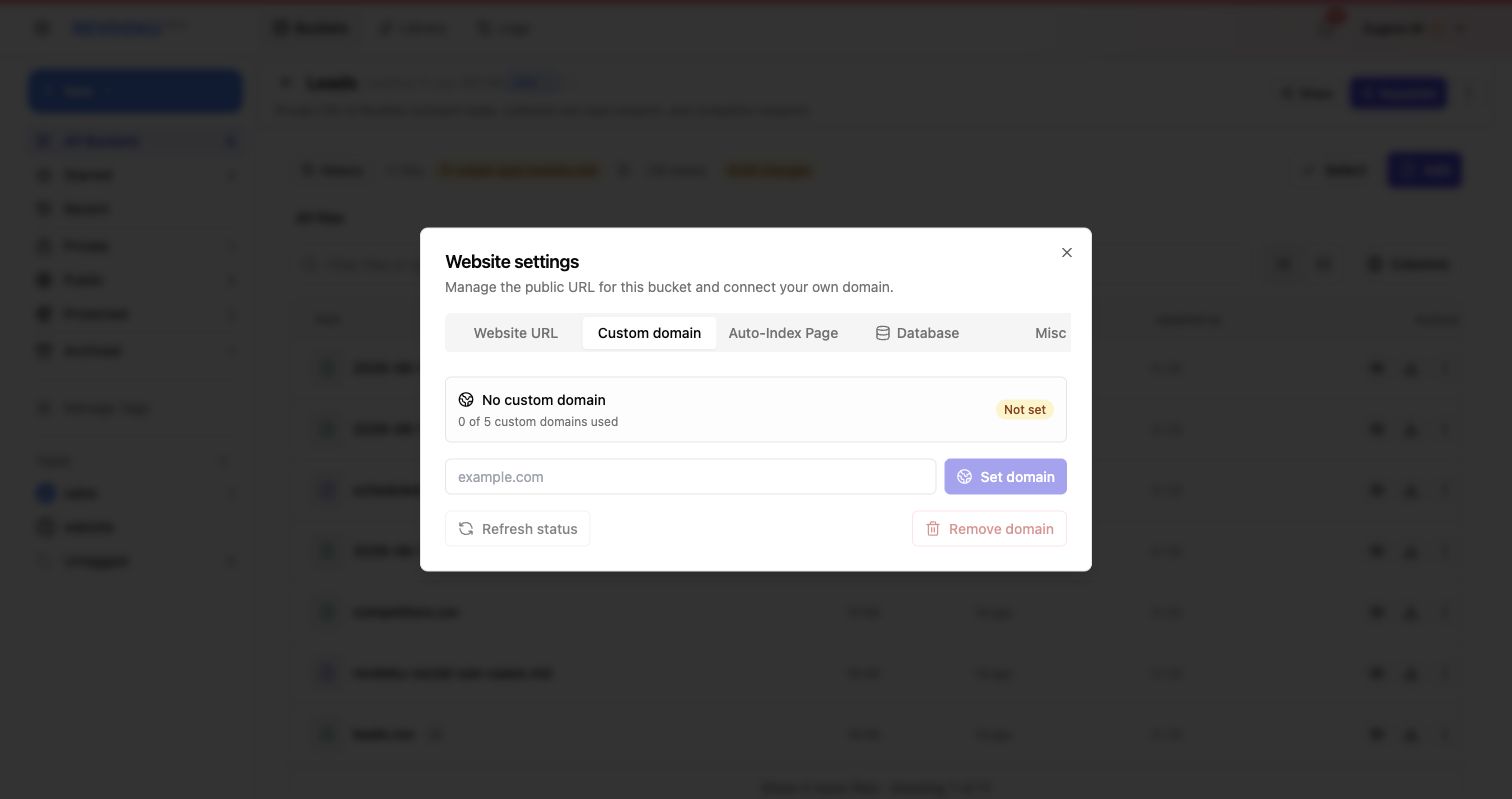
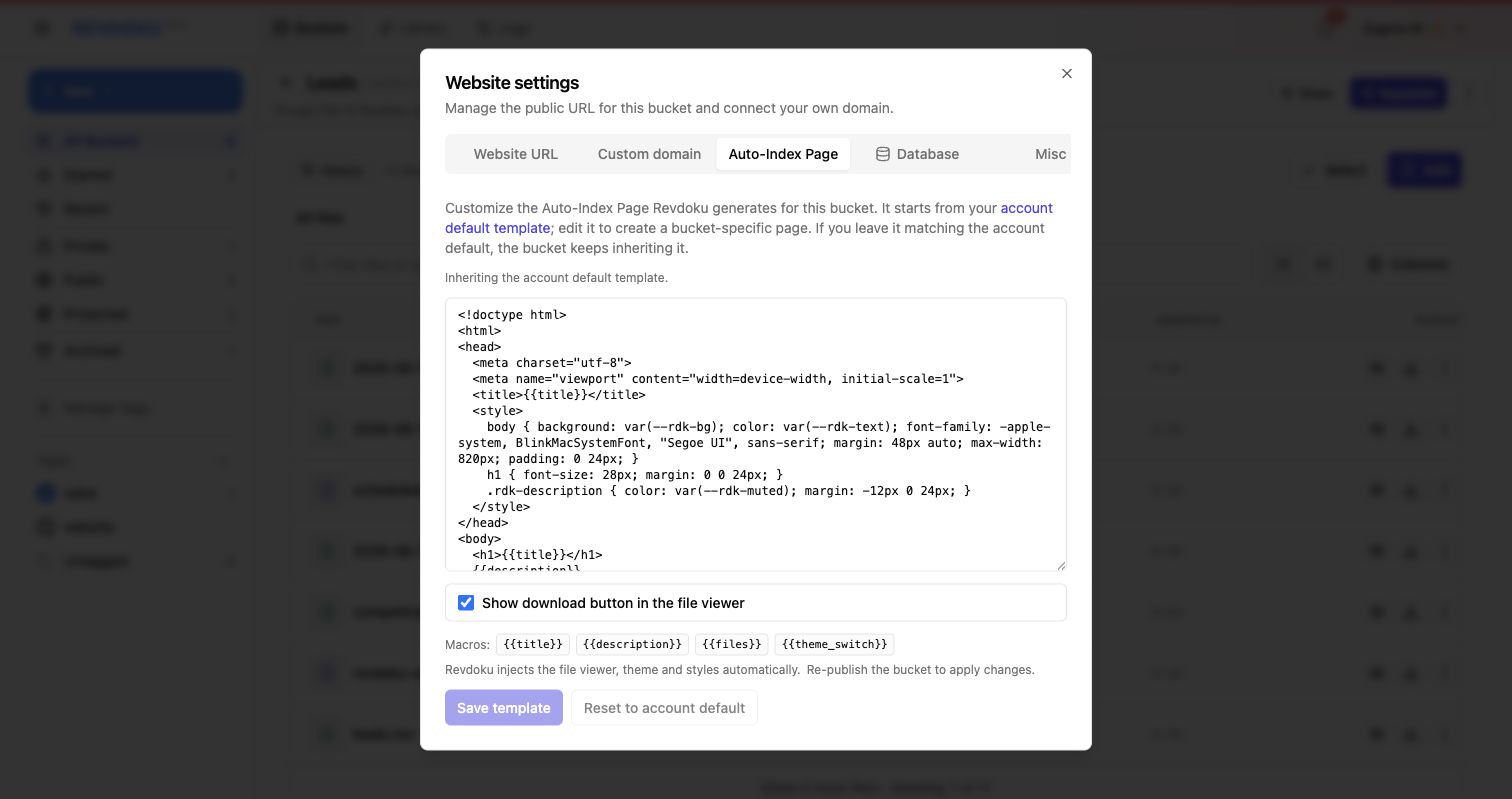
5. Customize the Auto-Index Page
Use the Auto-Index Page tab to adjust the generated index page Revdoku creates for file-based buckets. The template supports macros such as {{title}}, {{description}}, {{files}}, and {{theme_switch}}.
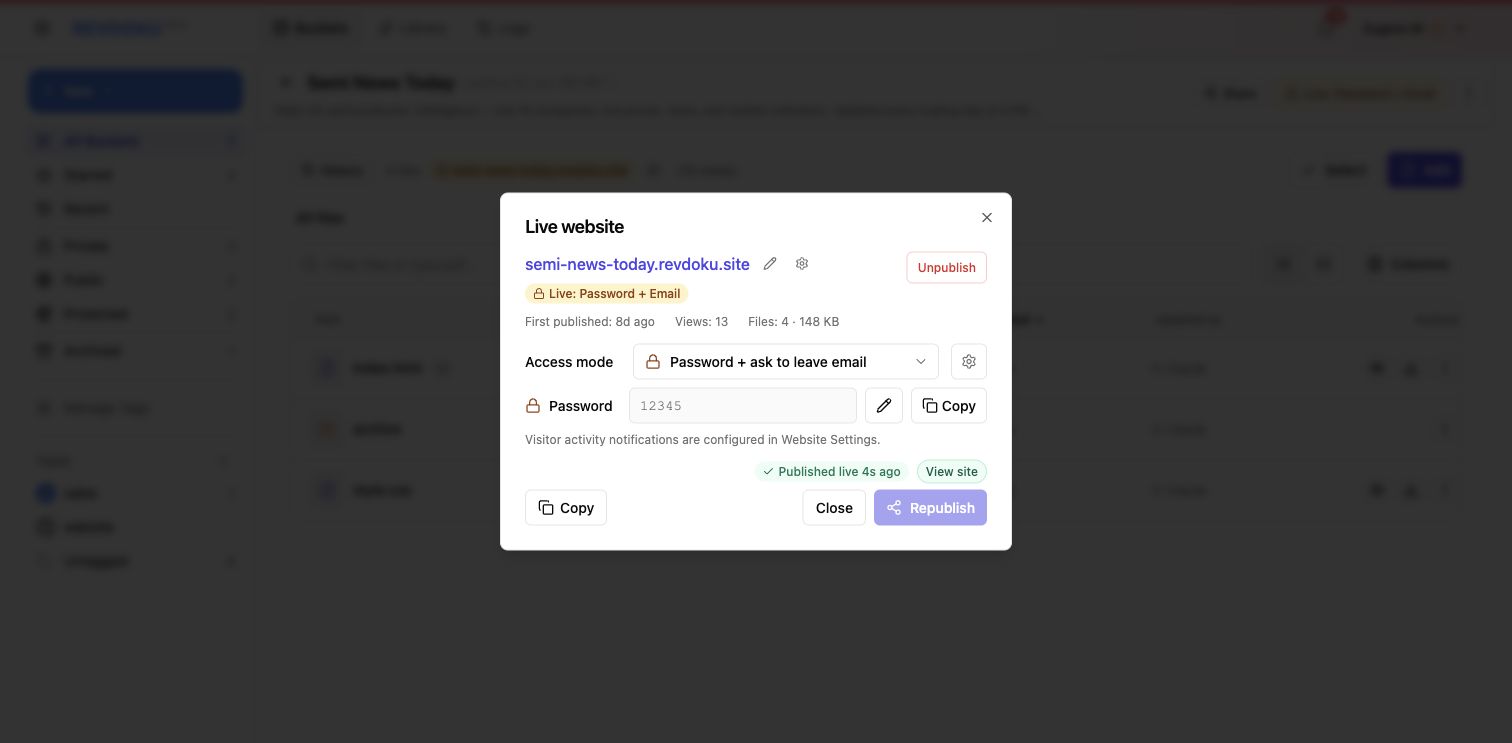
6. Republish after changes
Apply template and website setting changes by republishing the live site. The live publish dialog is also where you confirm the current URL, access mode, view count, and publish status.
From a folder of files to a controlled website
These settings let you move from “a folder of files” to “a controlled website” without leaving Revdoku: start with generated files, keep the default Revdoku URL or connect a branded domain, customize the generated file index, and keep analytics and visitor activity tracking close to your publishing settings. Create a free Revdoku account to publish and customize your first site.